How to Disable Skype for Business in Office 365
Goal
This document will help administrators disable Skype for Business from your Office 365 tenant. This is a necessary step in order to use a hosted Skype for Business solution.
Disable Skype for Business from Office365
Disable External Access Policies for Skype for Business
- Navigate to the Office365 Admin Center (http://login.microsoftonline.com)
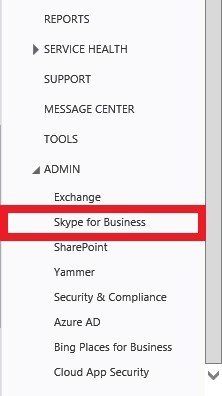
- In the navigation pane on the left, scroll sown and select “Skype for Business” from the Admin section.
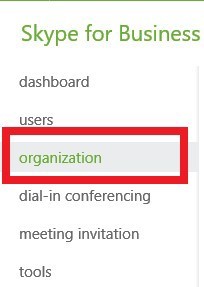
- From the Skype for Business admin center, select “organization” from the menu on the left- hand pane.
- Select the option for “external communications” from the top of the page.

- Change the setting for external access to “Off completely”.
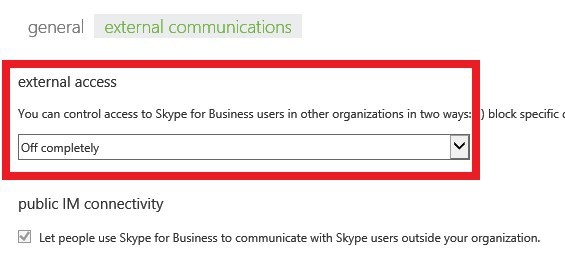
- Click Save.
Disable Skype for Business Online License for each user (do this for every user):
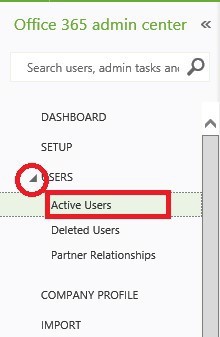
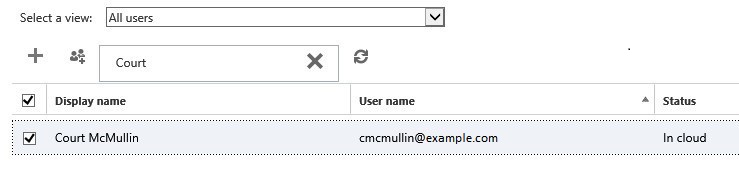
- Return to the Office 365 Admin Center and click on Users in the navigation pane on the left and then select Active Users.
- Click on the user to edit it.
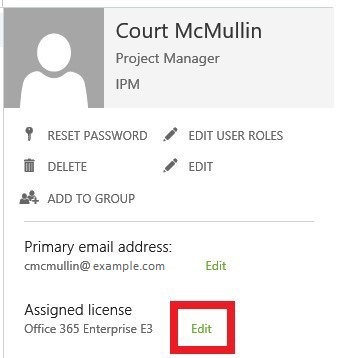
- On the right- hand side under the “Assigned license”, click Edit.
- Expand the License Type assigned to the user (i.e. E3 or E4) to display the list of sublicenses available in that plan.
- Unselect Skype for Business Online.
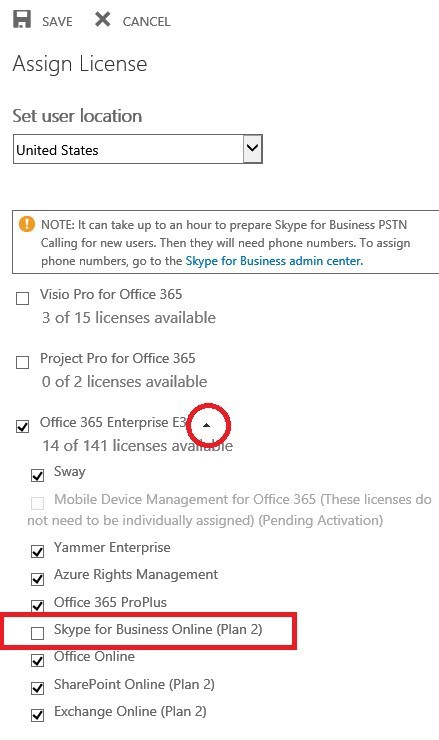
- Click Save.
- For advanced admininstrators, if you would like to use Powershell to make these changes in bulk, you can find more information on how to do so by clicking here.