MS Teams CT Text - Managing Contacts
Managing Contacts:
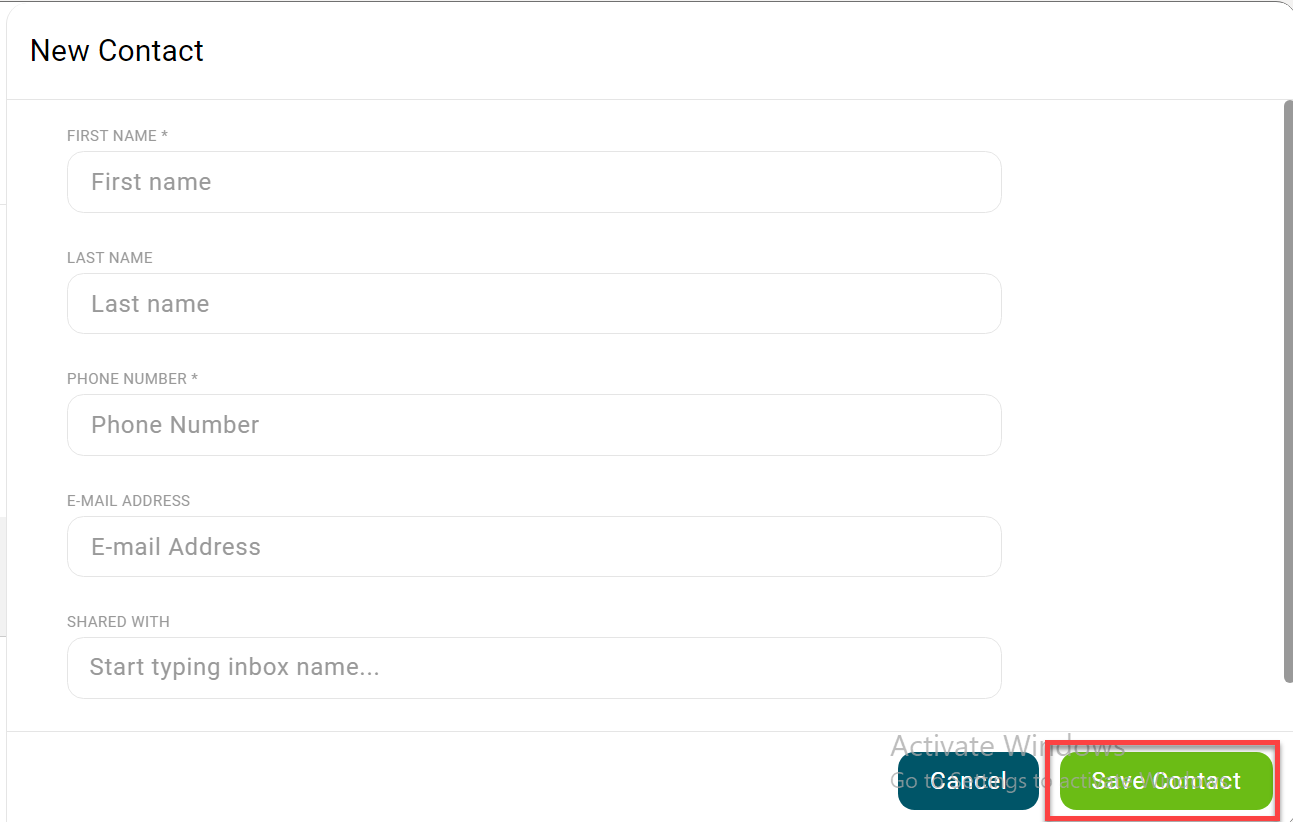
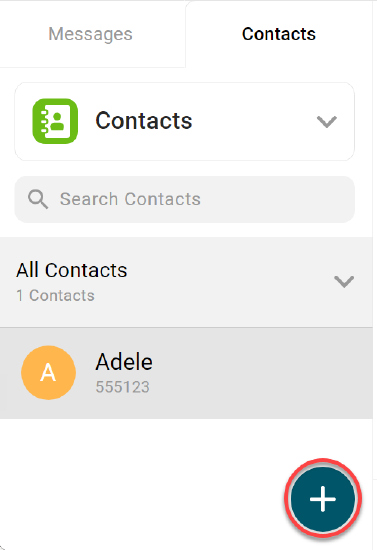
Add a New Contact
- Select the New Contact button in the Contacts tab.

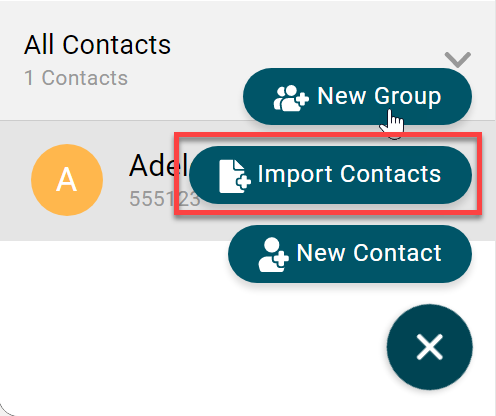
- Select New Contact

- Enter the contact details, including the telephone number, and click on the Save Contact button to store the contact. Remember, telephone numbers must be entered in E.164 format, meaning the plus sign, country code, and full telephone number. For US numbers, that means +1-XXX-XXX-XXXX (without the dashes.)
- Then select Save Contact
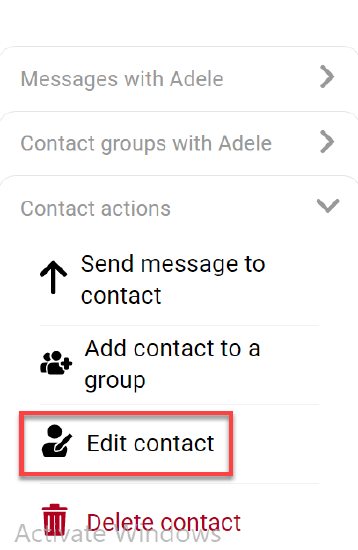
Edit an Existing Contact
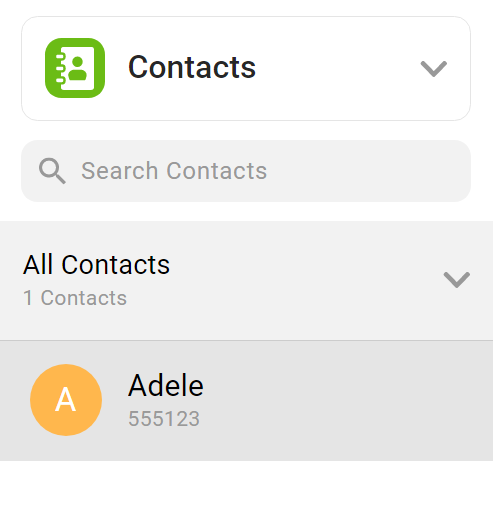
- Select the contact from the list of contacts.
- Next select the [...] three dot option in the upper right hand cornder of the contact information

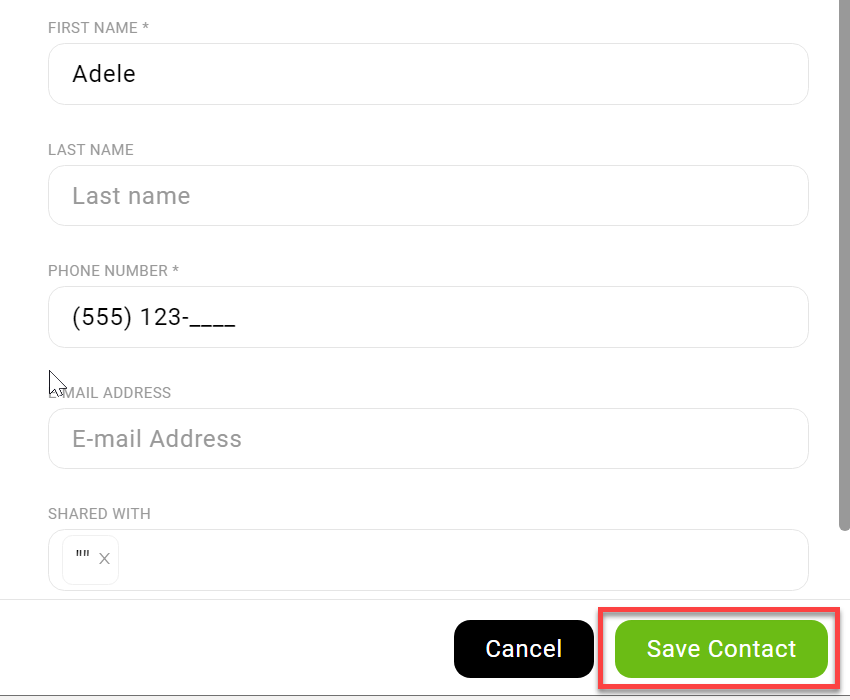
- Select Edit contact
When done, select Save Contact
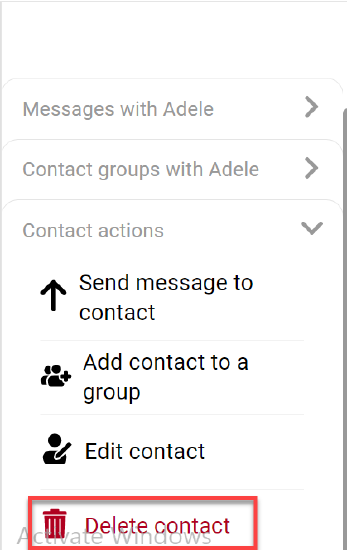
Delete an Existing Contact
- Select the contact
- Then select the [...] three dot option in the right hand corner of the contact screen

- Next, choose the delete option
- To delete multiple contacts at once, highlight the contacts you wish to delete by pressing the Ctrl key on your keyboard and using your mouse to select each contact. Right-click on any one of the highlighted contacts to display the Action menu. Select Delete to remove the highlighted contacts.
Import Contacts Using CSV
- Click the New Contact button.
- Select the Import Contacts tab to display the import page.
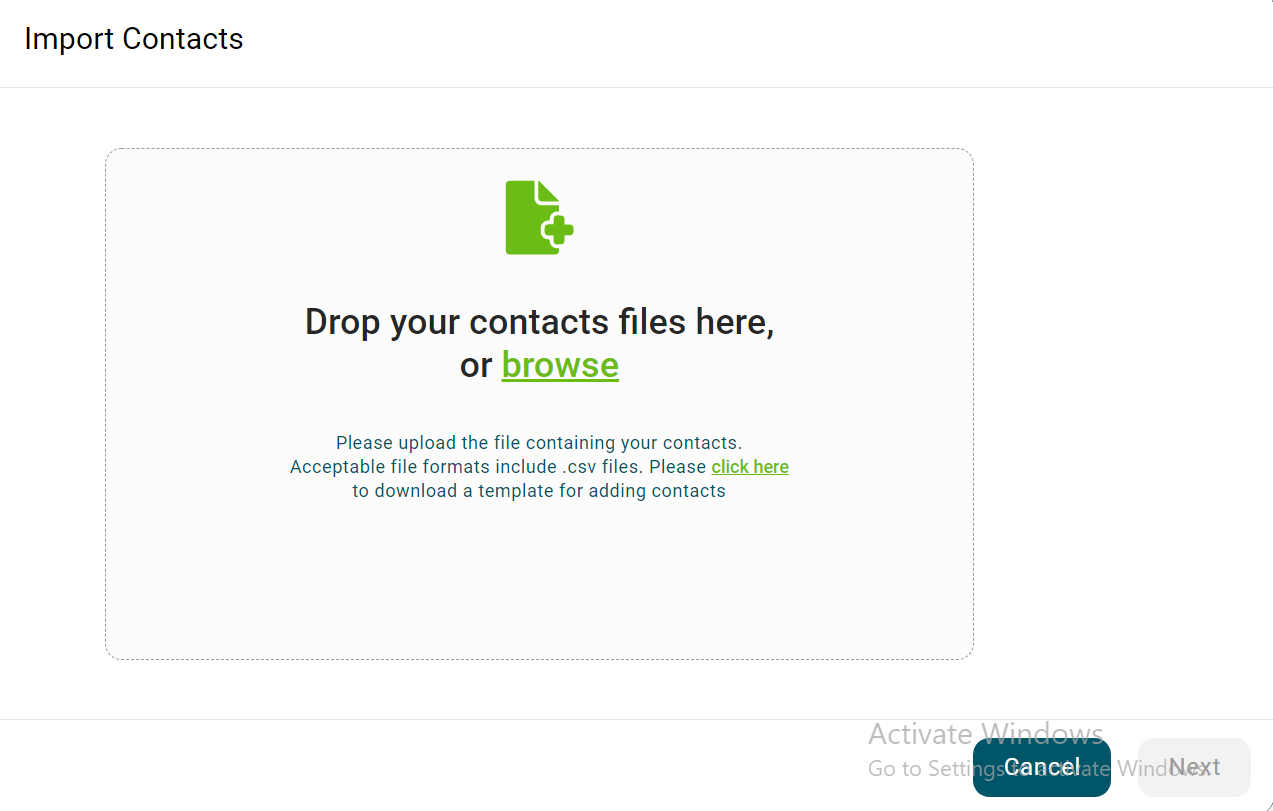
- Select the browse option, or drag and drop your files where indicated. CSV files are accepted. You can also use the Click Here function button to utilize a template for your contacts.
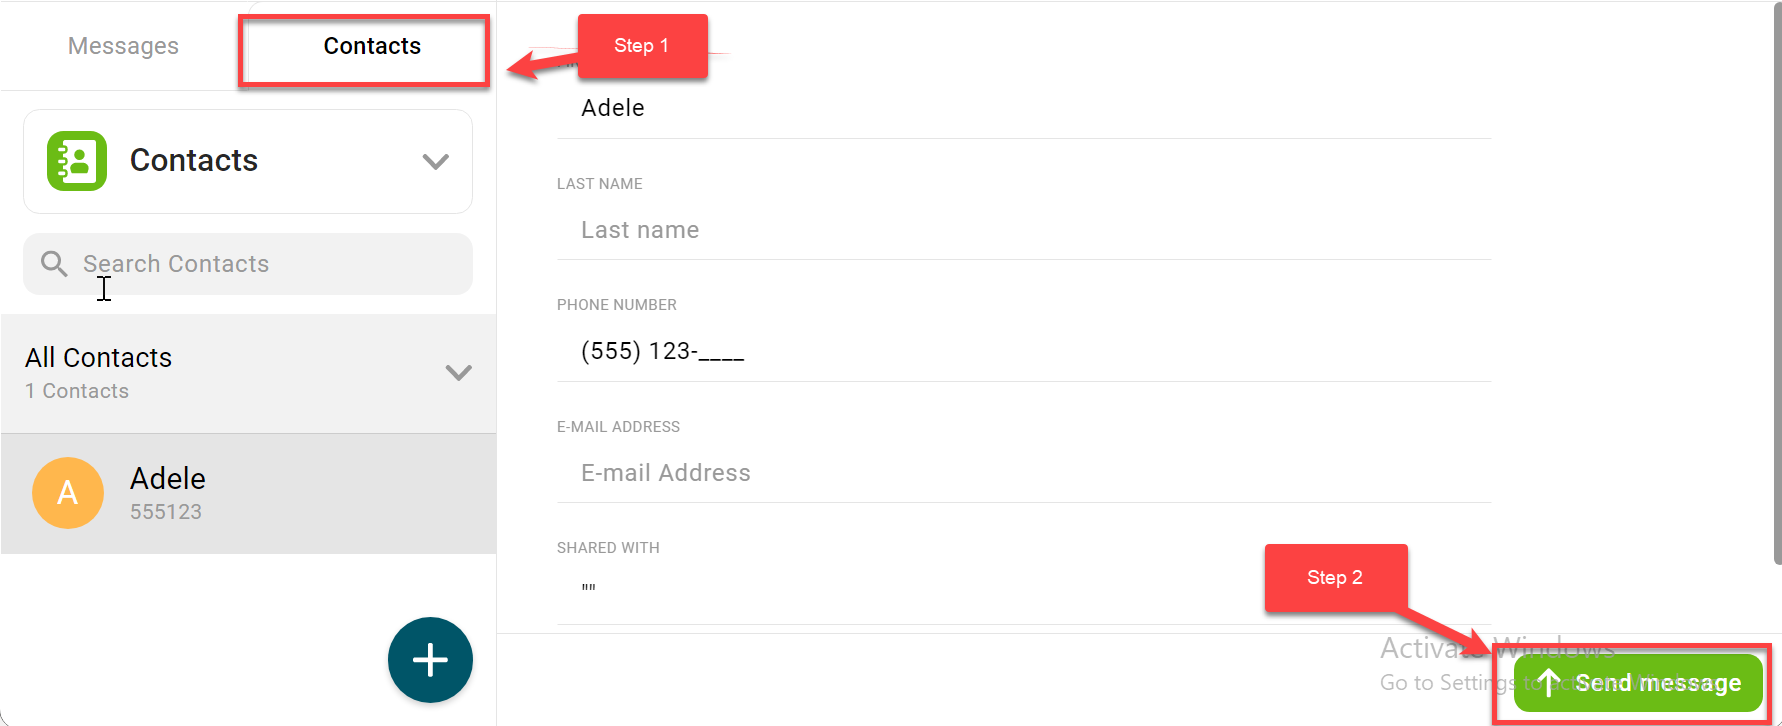
Sending Messages to Contacts
- Select the contact you wish to text and select Send Message.
- To send a message to multiple contacts simultaneously, highlight the multiple contacts you wish to contact by pressing the Ctrl key on your keyboard and using your mouse to select each contact. Right-click on any of the highlighted contacts to display the Action menu. Select the menu option Send Message to send a text to all the selected contacts.