Audio Troubleshooting Skype for Business
This article is intended to troubleshooting audio issues with Skype for Business.
Steps
It is important to test after each step
- Check Audio levels: make certain the microphone is not muted and that audio can be played through the device.
- Control Panel > Sound > (Review all recording and playback devices.
- Check on a different device
- Clear Skype for Business cache https://www.uc.solutions/Skype_for_B...Business_cache
- Check for Skype for Business update
- Check for windows updates
- Click the windows icon and search for windows updates.
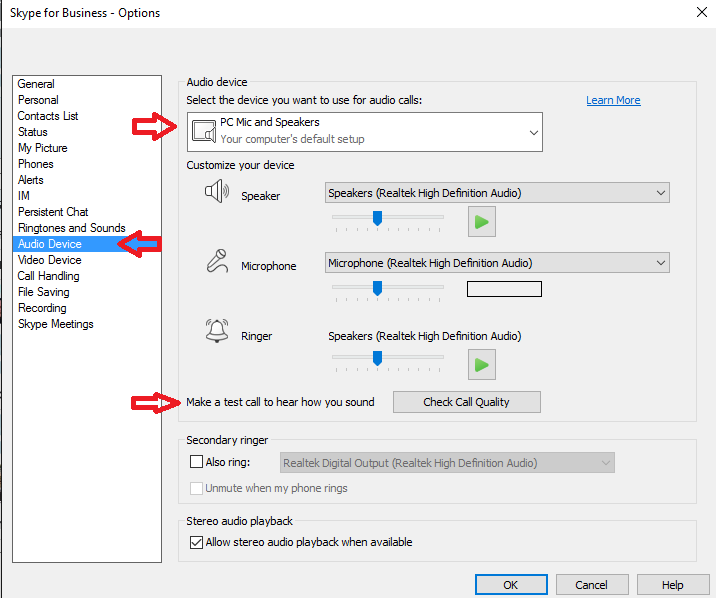
- Check that you’re audio devices are enable in Skype for Business and that they are approved devices. Then perform a test call with the “Check Call Quality” Button.
Update Device Drivers
- Check for up-to-date Audio drivers. Test for audio in Skype for Business
Note: HDIC drivers are not compatible with Skype for Business
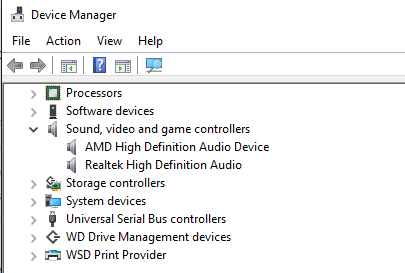
- Search windows for the control panel and open the “Device Manager”. Check under the “Sound, Video, and Game Controllers” Right click the device and select the appropriate action. You may need to uninstall the Audio drivers from here if the update doesn’t work
- Uninstall
- Restart the computer
If issue persists, installing a clean Skype for Business client may be necessary
- Click the Windows button and navigate to the control panel, select “Programs and Features” find “Skype for Business 2016” Right click and select Uninstall. You can then reinstall using the “User Portal”. Or if your installation of Office included Skype for Business go to portal.office.com and install Office.
- For persistent issues you can enable logging and review.
- Select Options>General>Enable Logging and select the type of logging you’d like to do. You can find the log file in the C:\Users\YourAlias\AppData\Local\Microsoft\Office\16.0\Lync\Tracing Folder.