Microsoft - Meta Forward in Connect
Summary:
Setting a DID to Meta Forward in Connect.
Step-by-Step Instructions:
This will require MPOC privileges on the user profile attempting to do this.
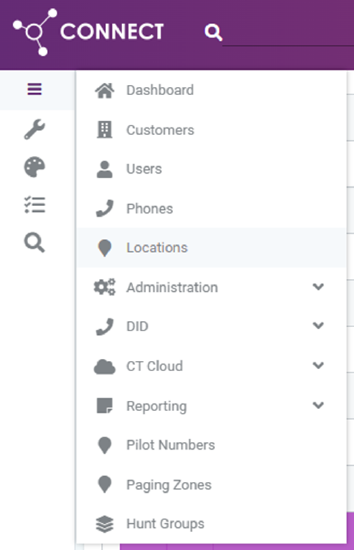
Navigate to connect.calltower.com and select “Locations” from the menu on the left-hand side of the screen.
Find the Location of the DID you wish to upload is in and select it.
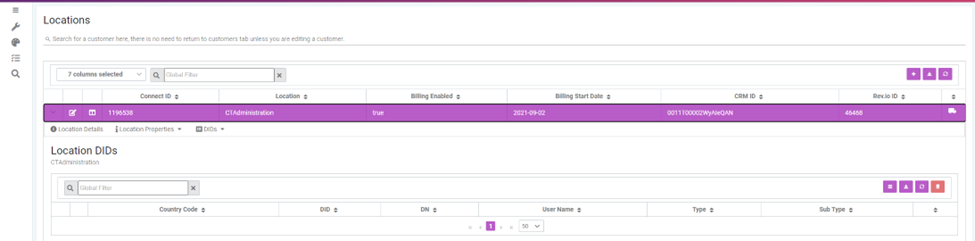
Select the DIDs tab > Select the DIDs drop down > Select the DID you wish to forward (This can be searched in the for in the Global filter highlighted below)

Once the DID is selected you will get a drop down for the settings of that DID. You will need to change the DID type to Meta Forward and hit the save icon in the lower right-hand side of the screen under the hamburger menu.

Once that has processed (only takes a few seconds) you will set the number you are forwarding to in the “DN” field under the DID.
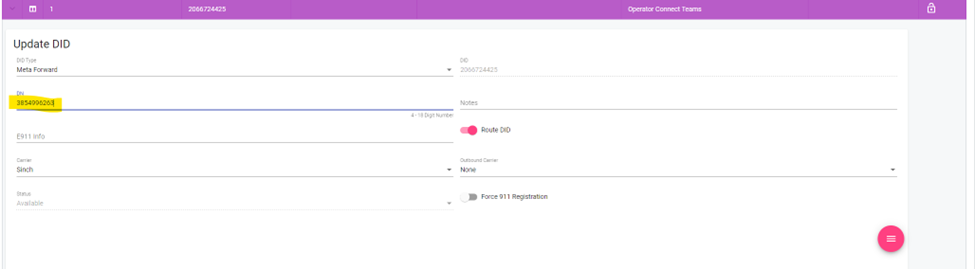
You will know this is successful if you refresh the page and it shows as the following with the DID you are forwarding and the number you are forwarding to in the DN field. The DID type should show Meta Forward and a red lock on the right-hand side.

You can now call the number being forwarded and confirm the number is routing as desired.