CT Cloud Contact Center - Working Hours
Overview
How to Adjust Working Hours in CT Cloud Contact Center.
Resolution/Steps
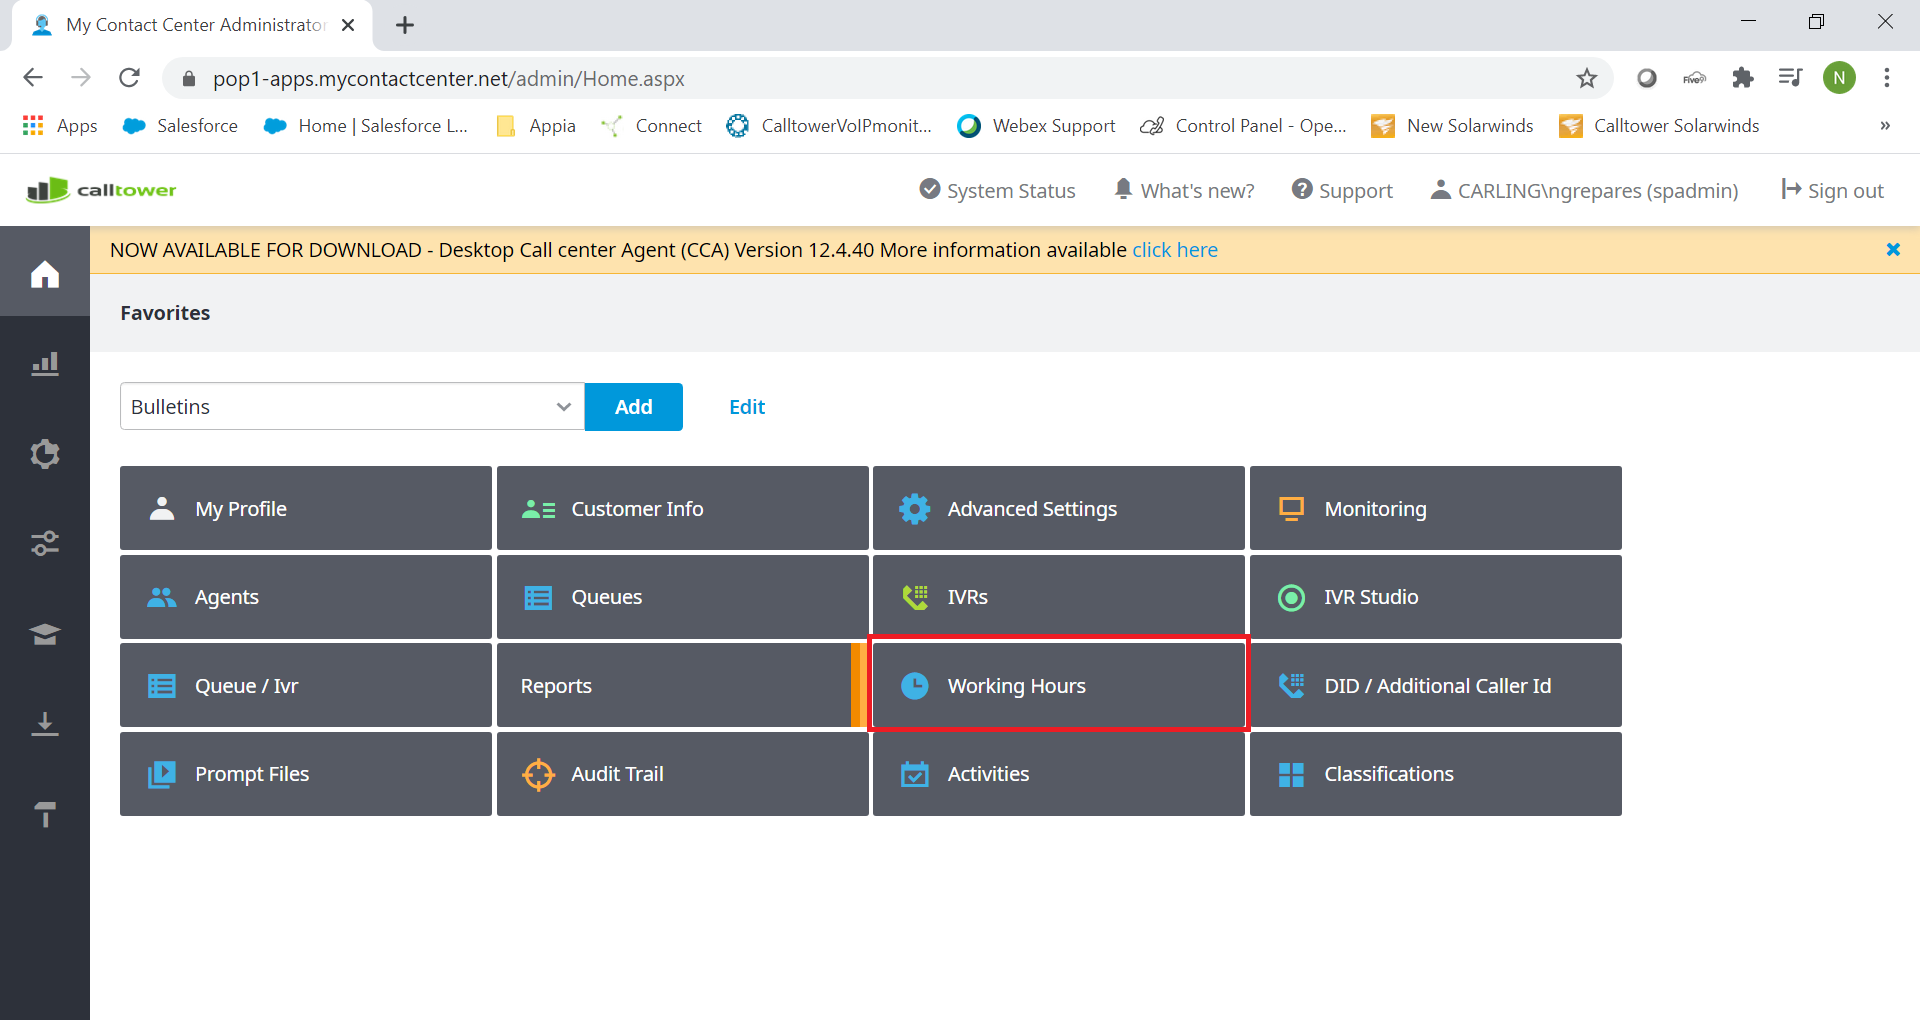
First you will need to navigate to Working Hours, you can get to this from your favorites page, if you do not see it on your favorites page you can add it by following this article CT Cloud Contact Center: Telax - Adding Favorites
You will be brought to the schedule page when you click on working hours:
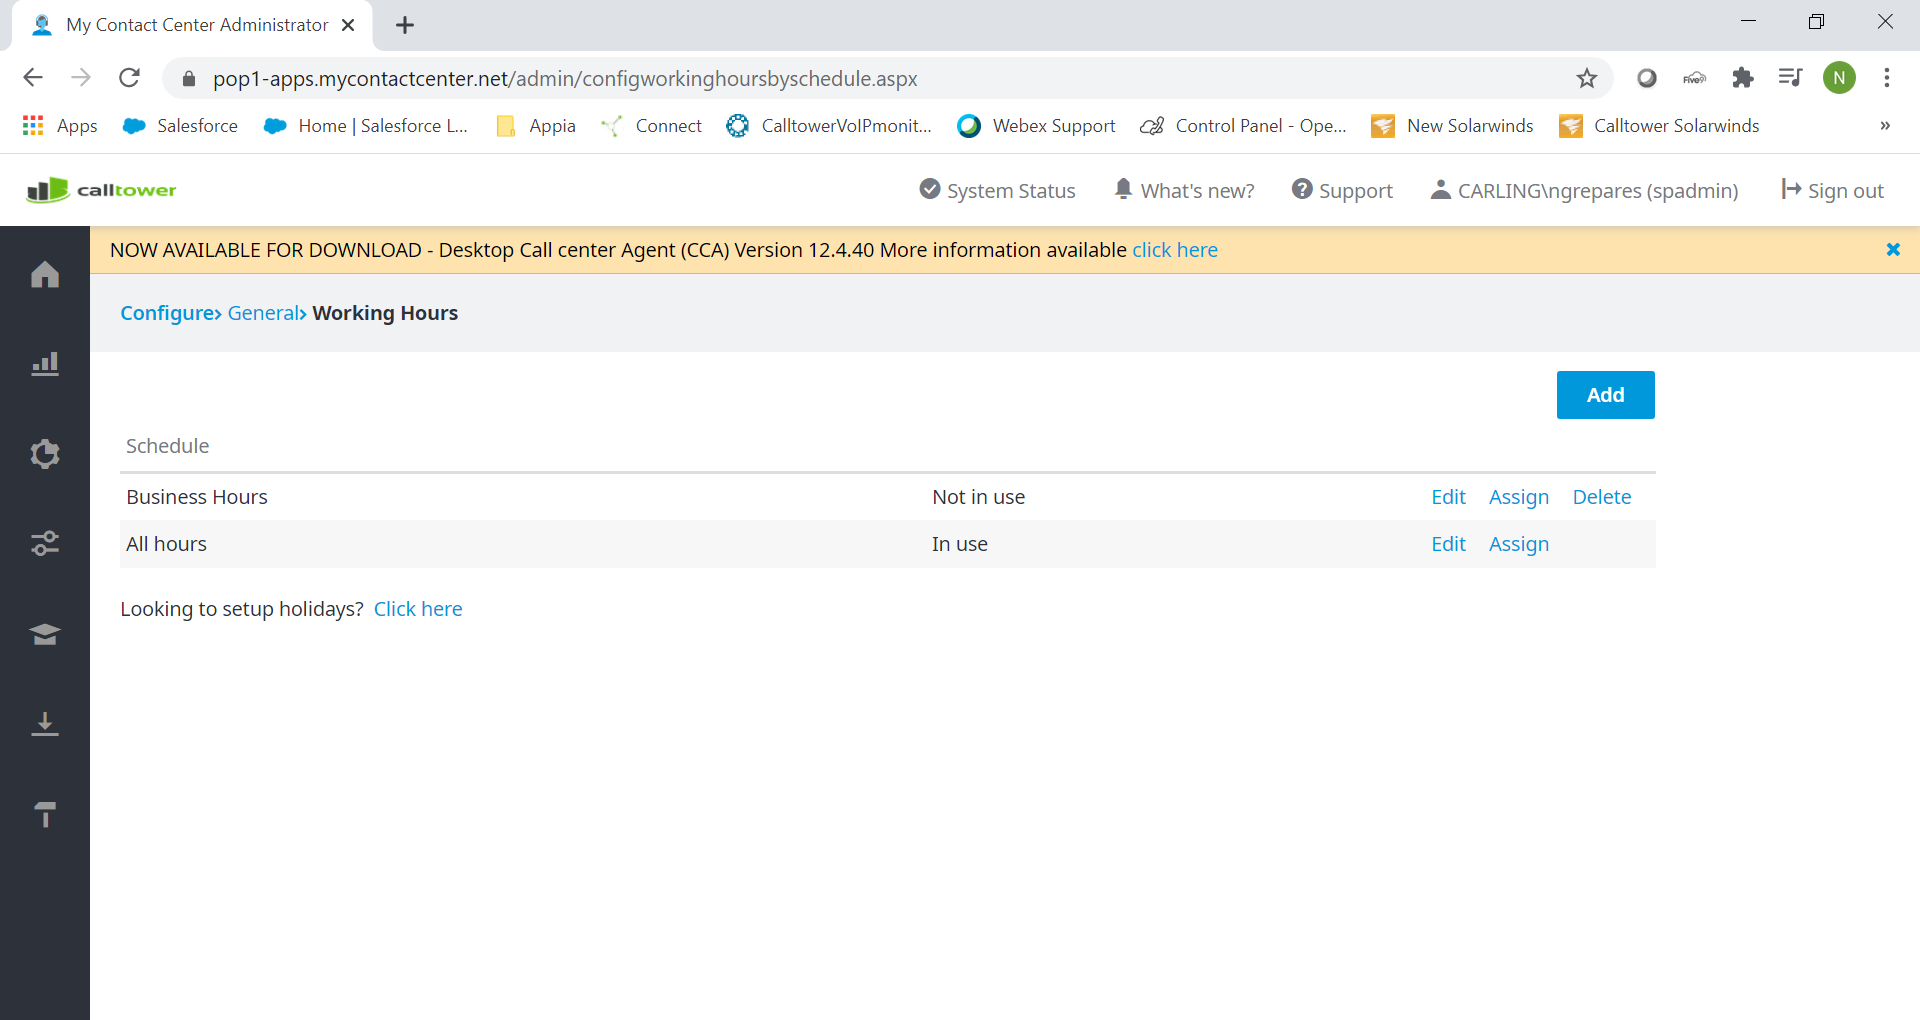
On this Page you can Add a schedule (Outlined in Red) Or you can edit the current schedules (outlined in Yellow) we are going to proceed with editing the current active schedule. You can also choose which queues to assign the schedules to (outlined in Green). You can also tell if a schedule is in use or not (outlined in Blue).
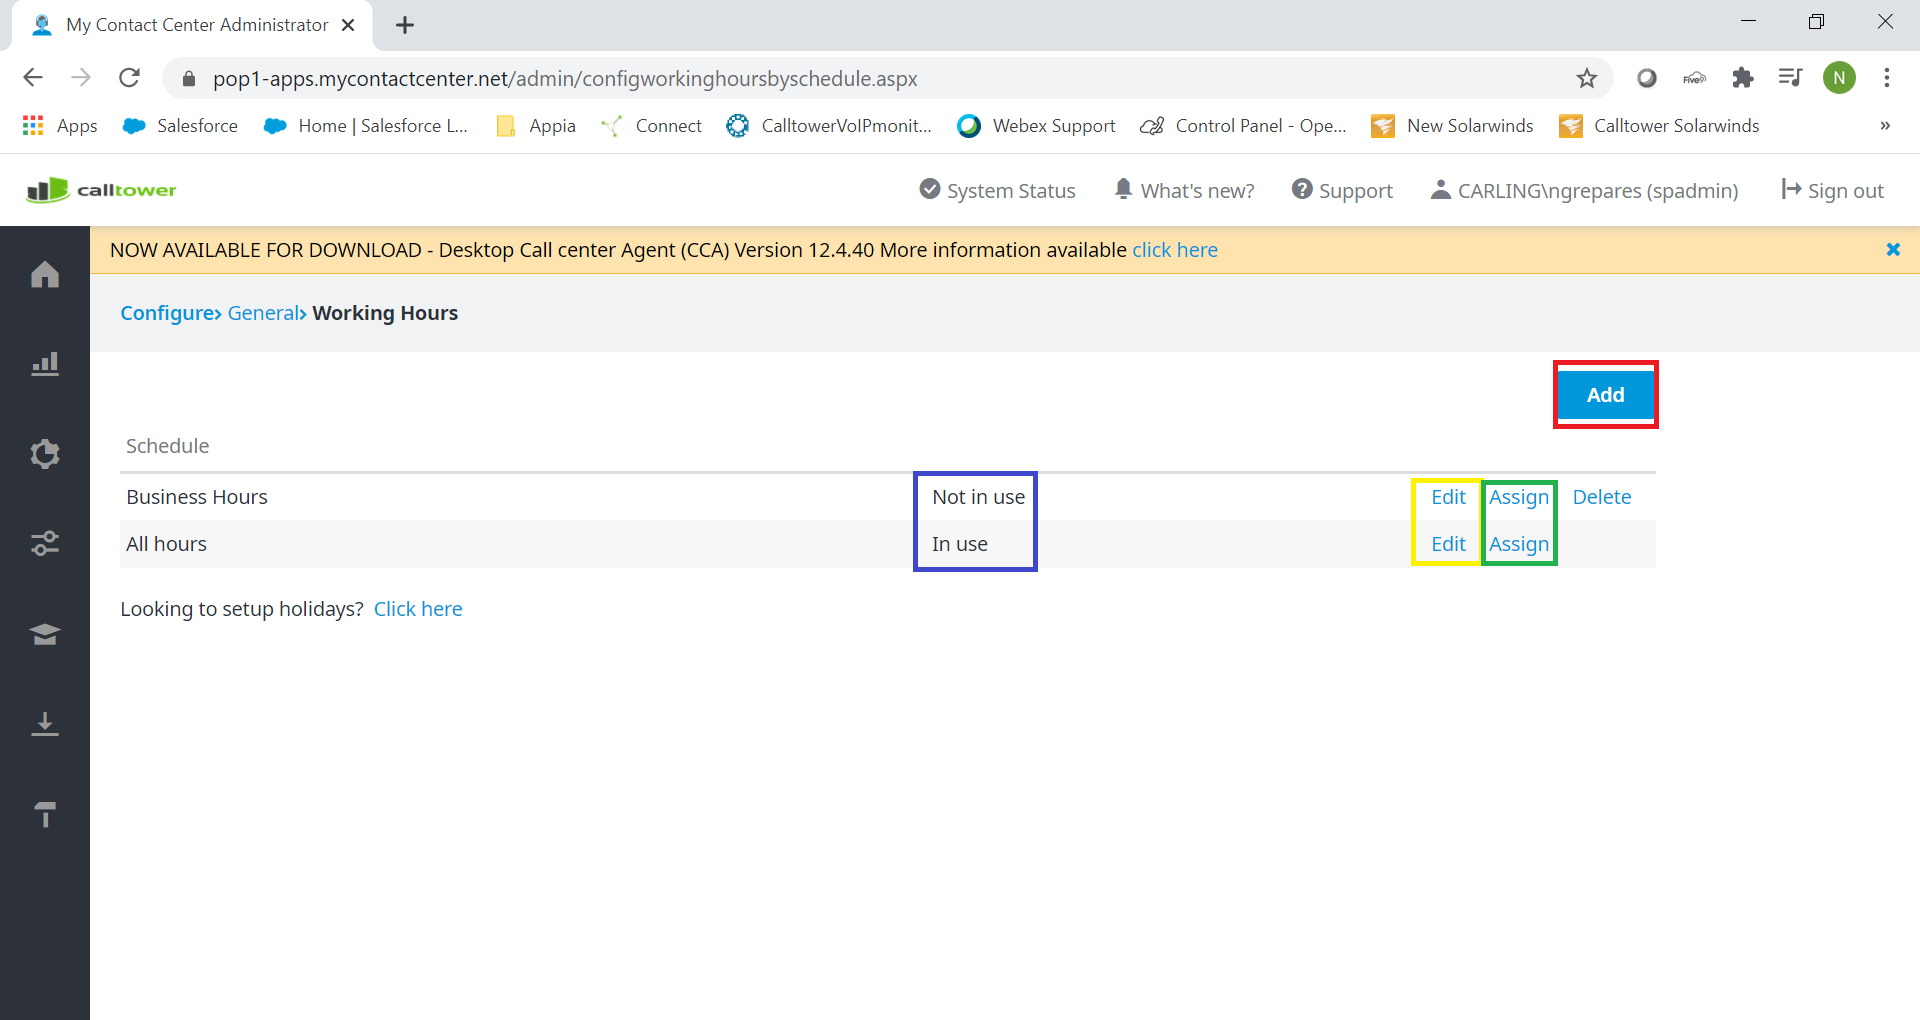
When you click on Edit, you will be taken to this page. You have the Weekdays (Outlined in Red) and you have the Exception Dates (Outlined in Yellow) To go to a tab just click on the day that needs to be edited.
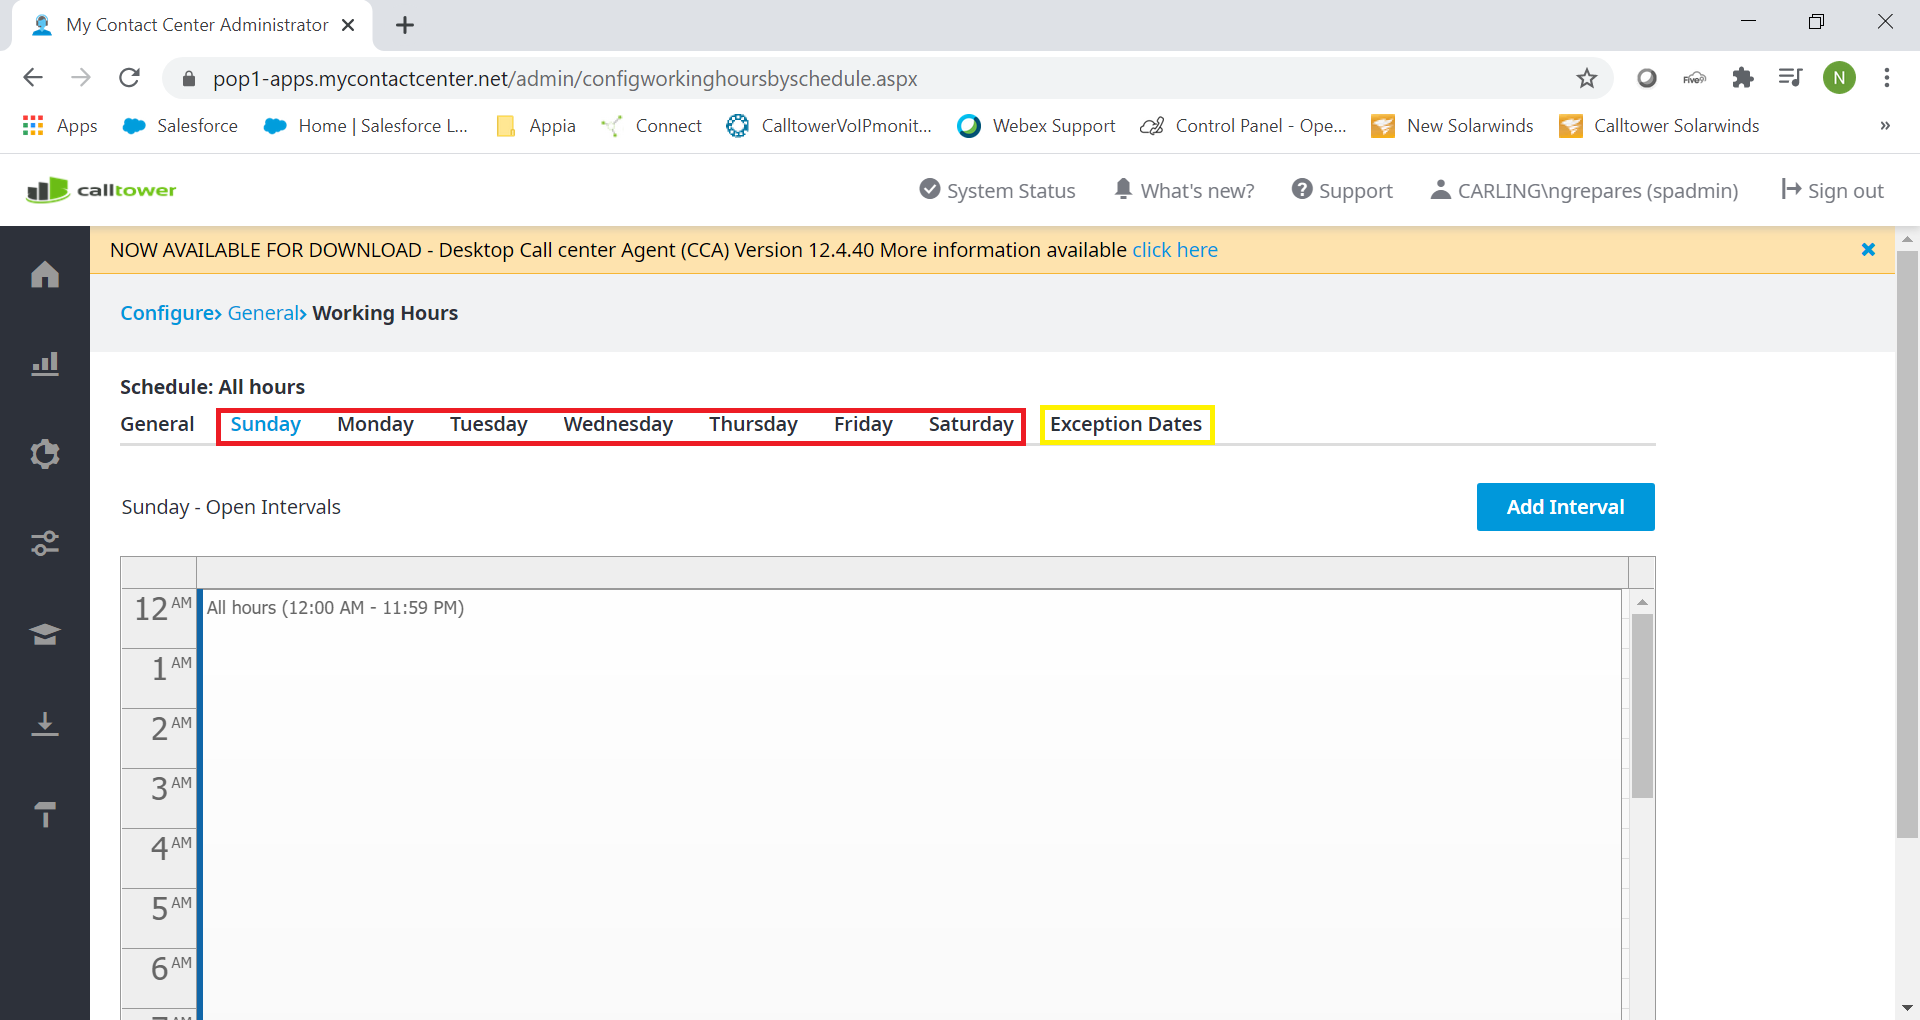
To edit the Times you can edit the current interval set on the Day by clicking on the edge of the current set time, and dragging it down or up to change the open times. You will know you are on the edge by the up and down Arrow that will appear. You can also add a new interval by clicking Add Interval (Outlined in Red).
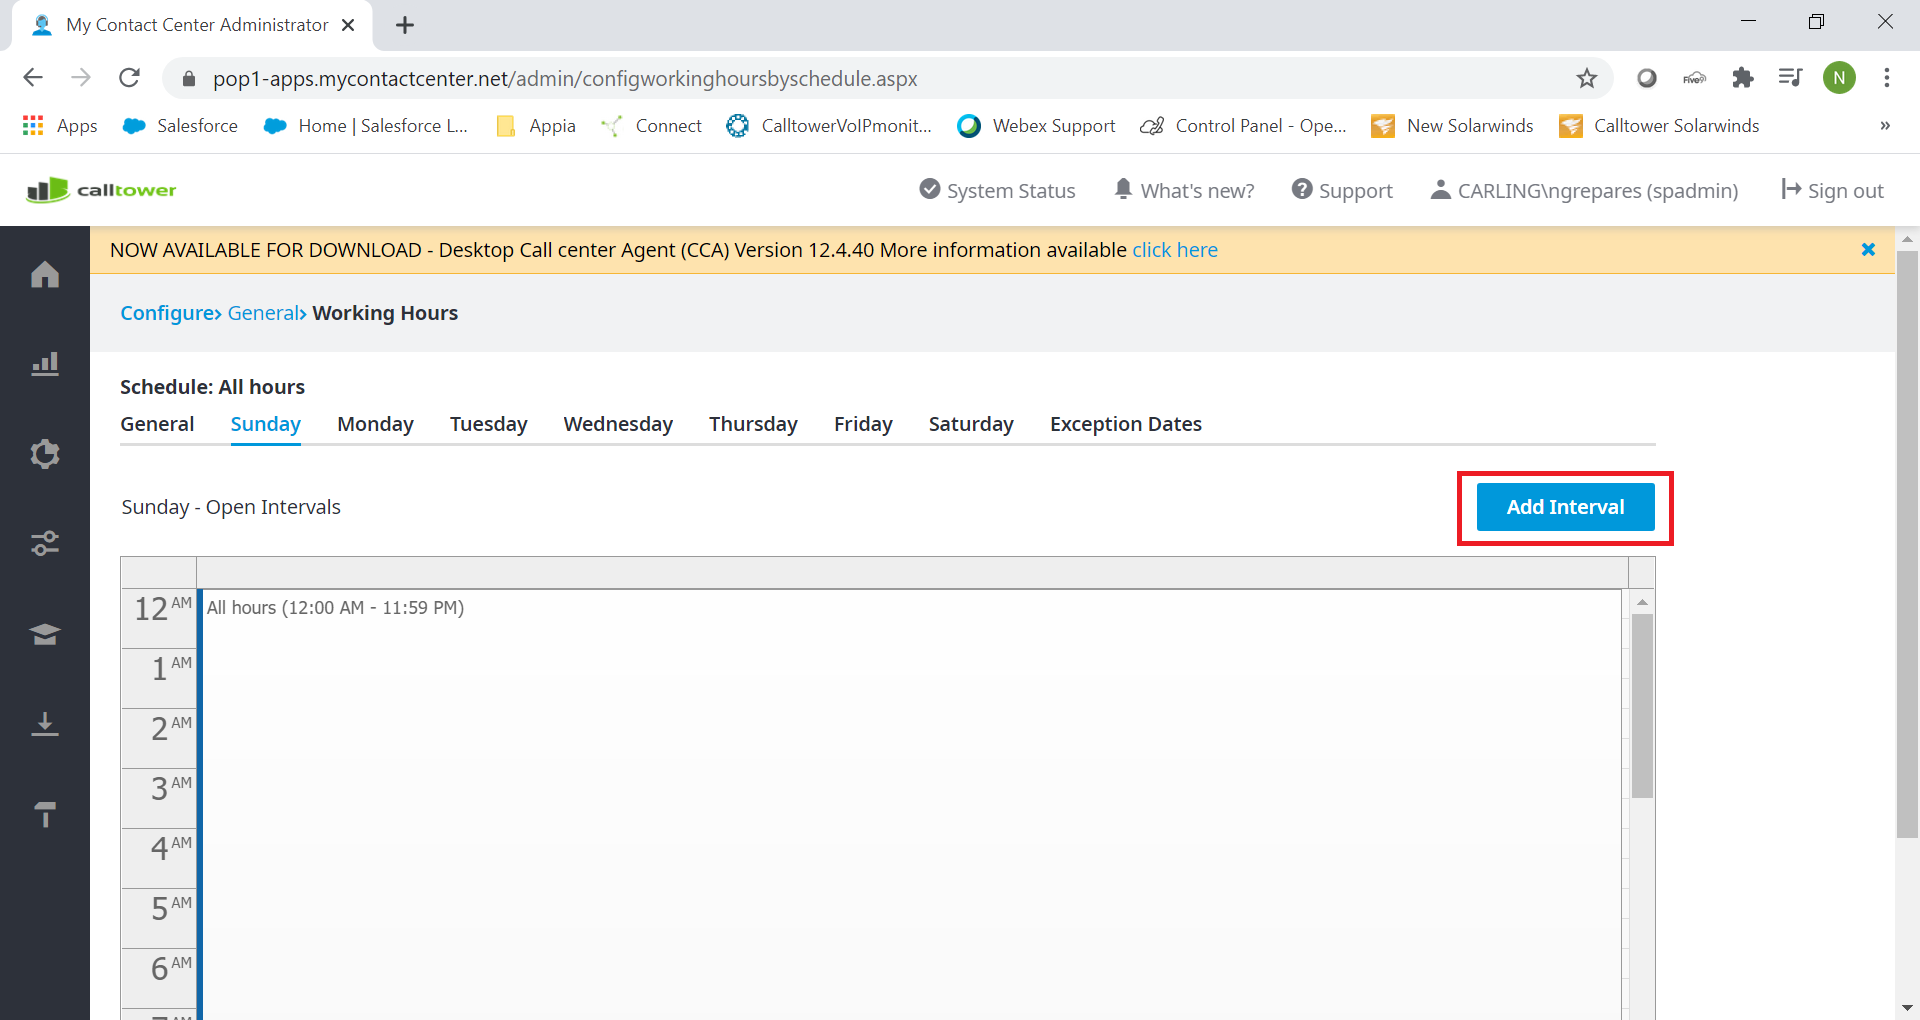
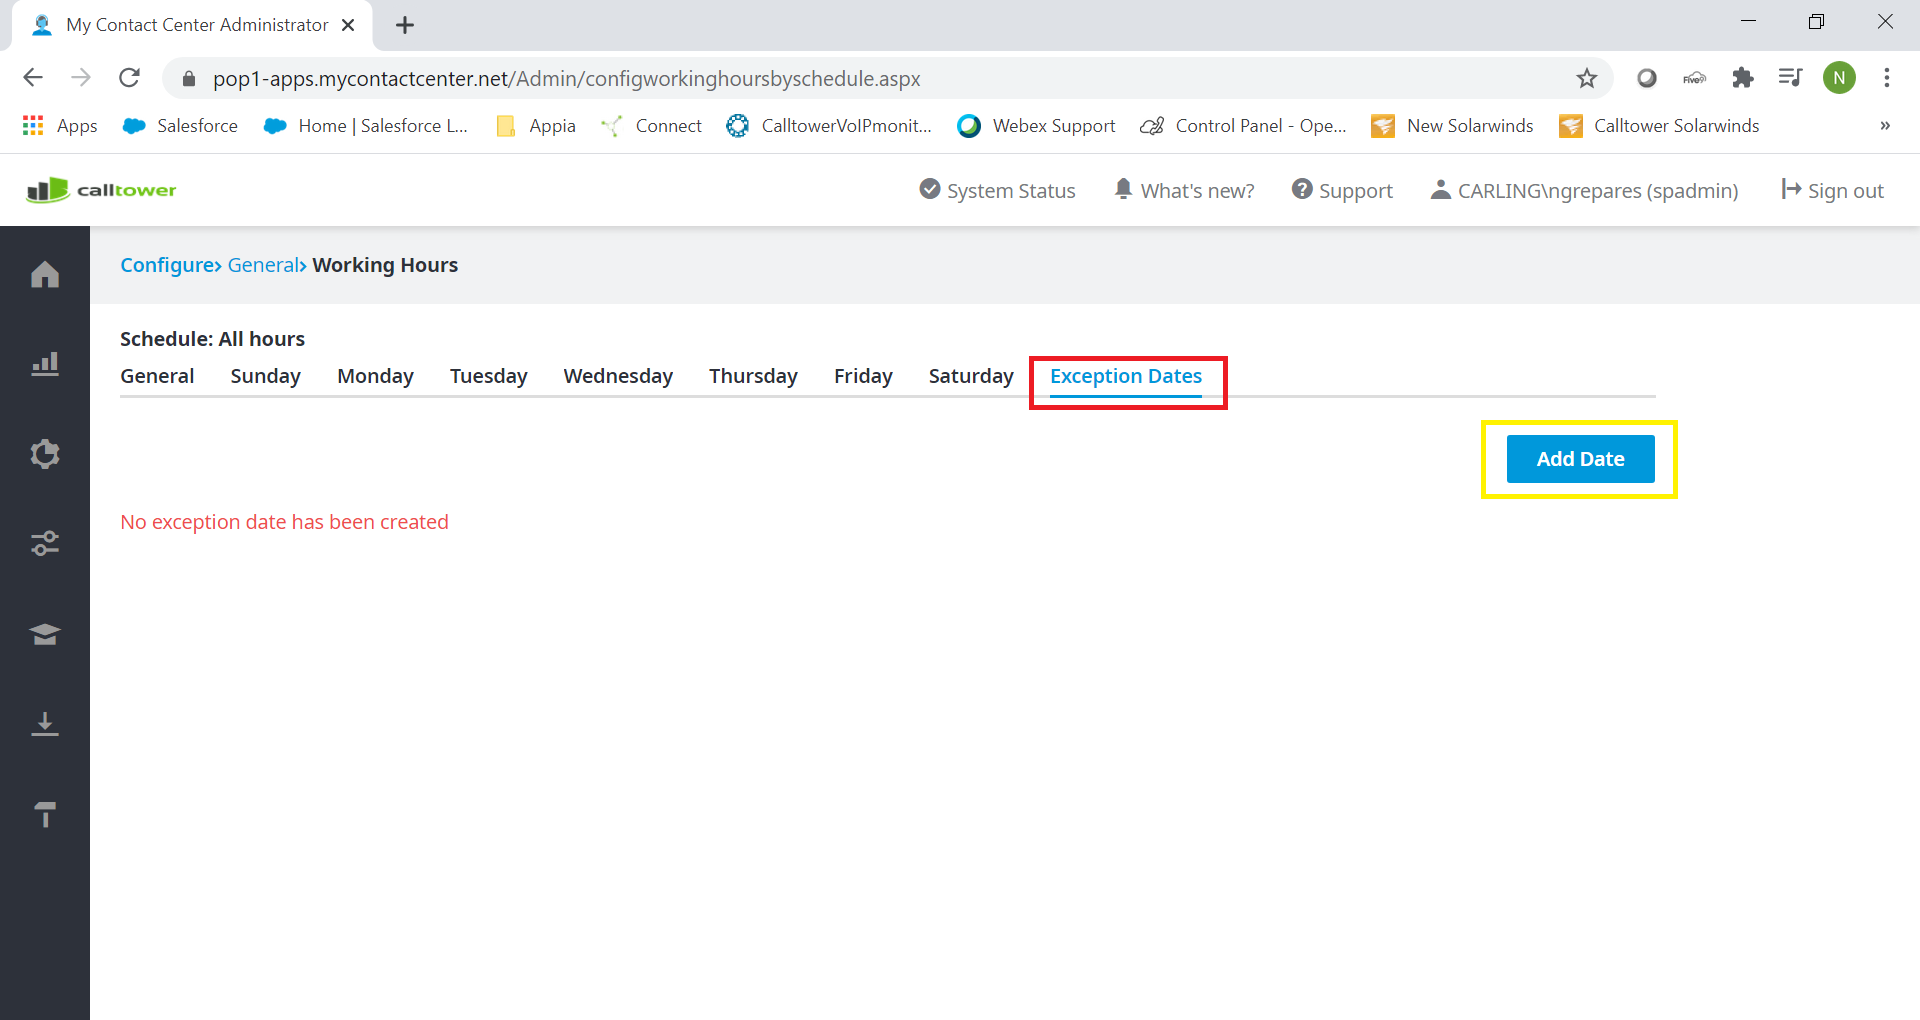
To add Exception Dates, Click on Exception Date at the top (Outlined in Red), then click Add Date (Outlined in Yellow).
Exception dates are used for days you will not want the queue/IVR to be active. An example would be a Holiday.
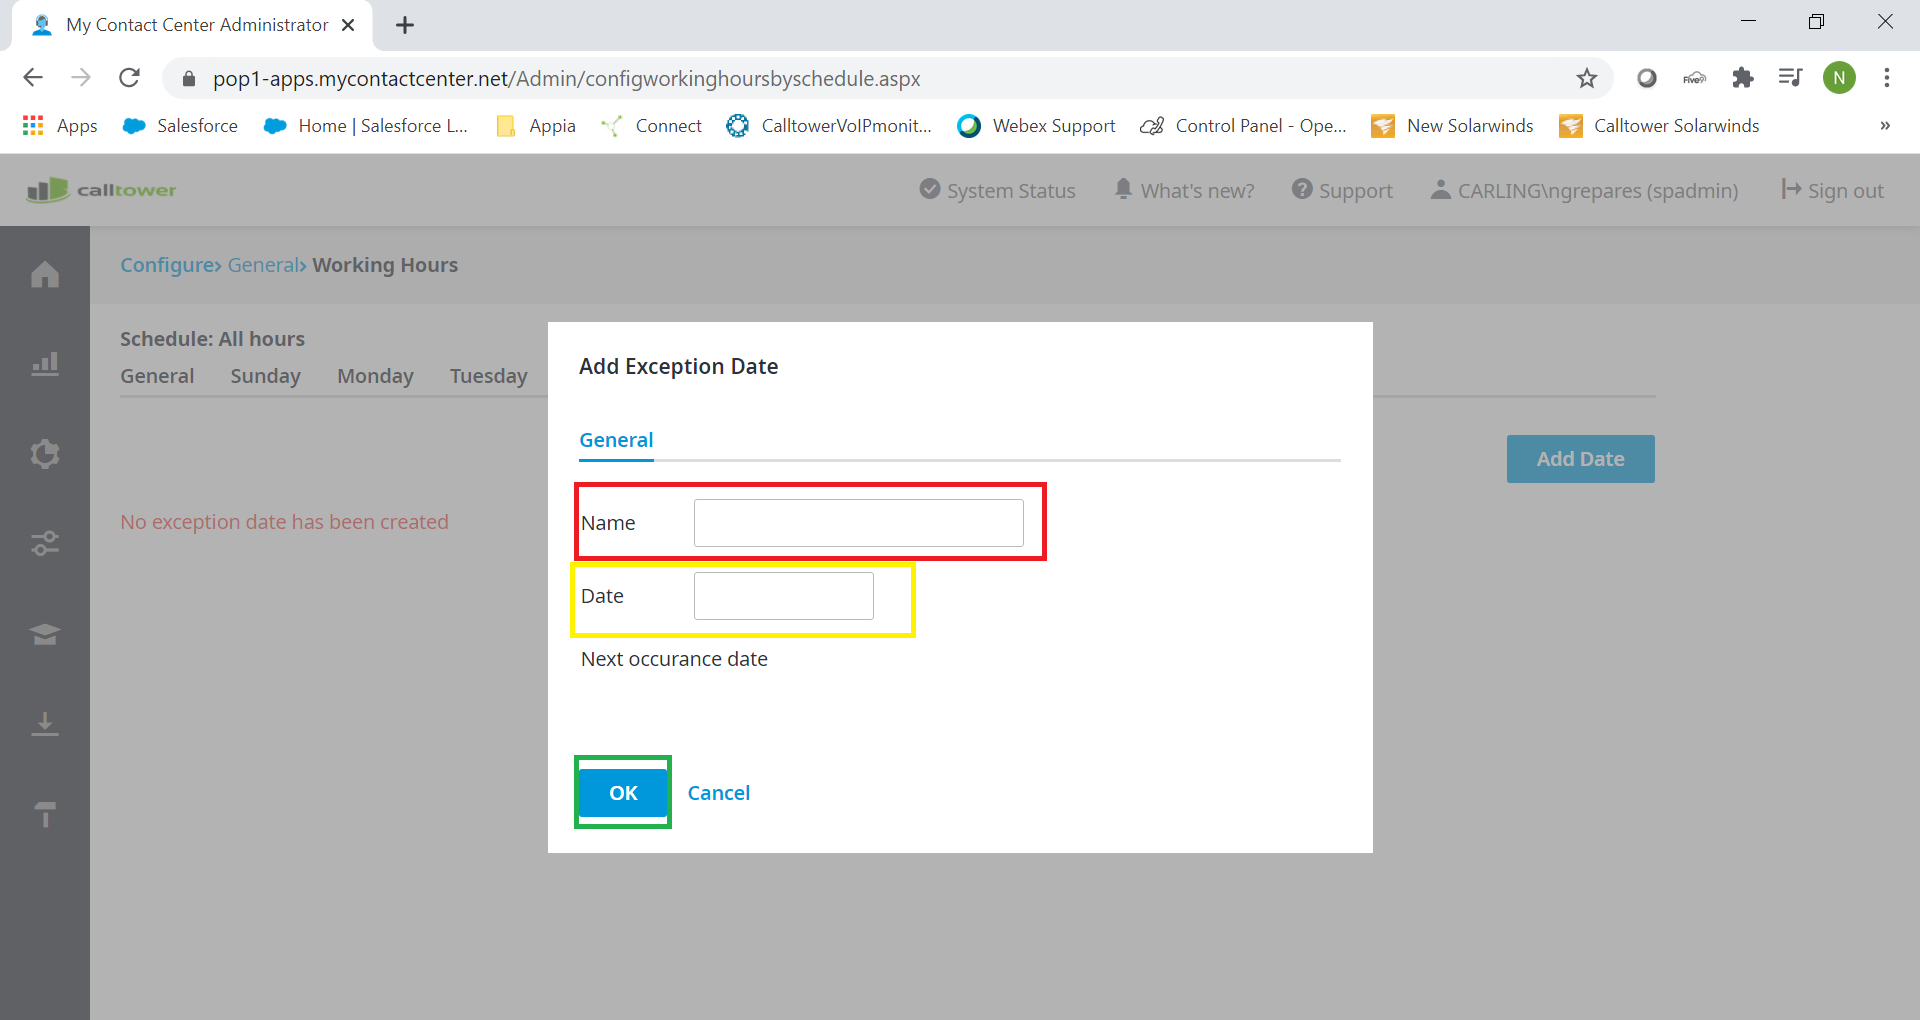
When you click on Add Date, Fill out out the Name(Outlined in Red) of what the exception is for, example being Holiday or Company Lunch. Select the Date (Outlined in Yellow) the exception is for. Then click OK (Outlined in Green)
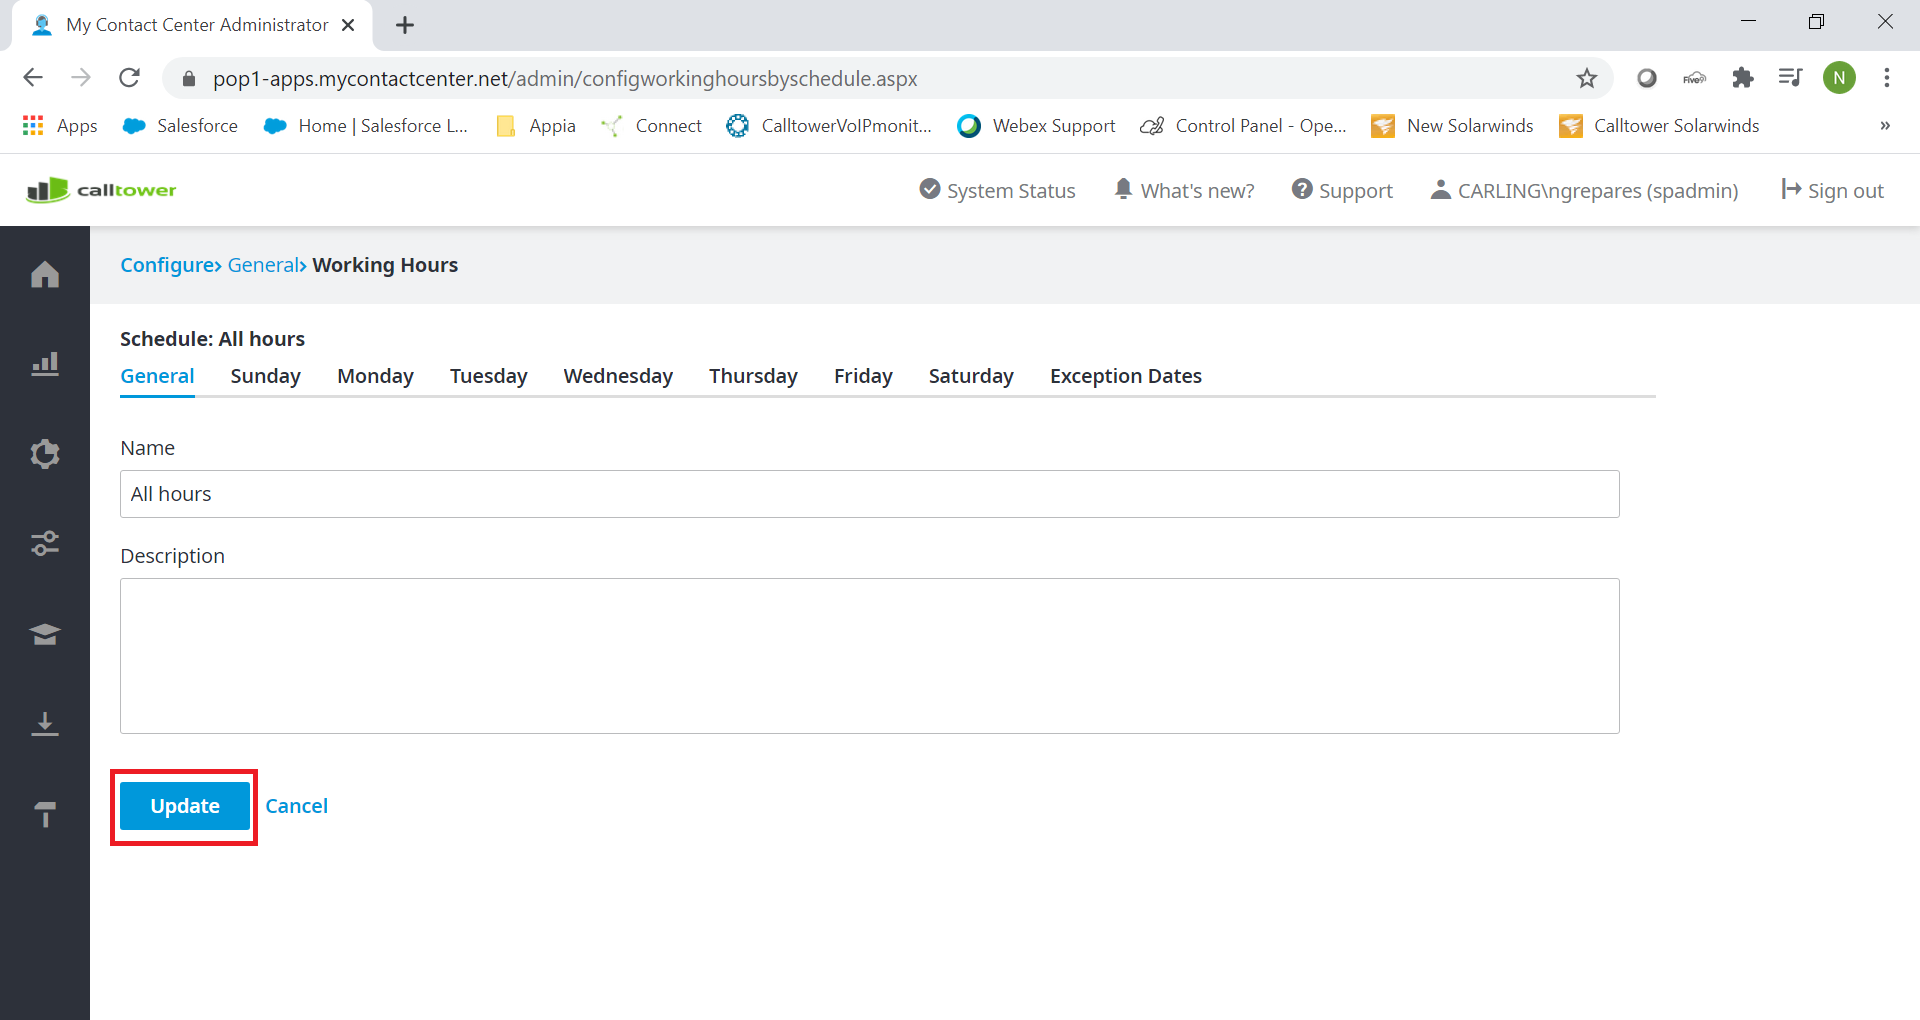
After applying any changes, Click Update and it will save the changes made. Update is located on the General Tab of the Schedule.
