Cisco Polycom - Configure IP 5000-7000 Phones
NOTE: This will only work if the phone is behind a CallTower T1 or ASA. It will not work with the remote server.
Add Phone in Connect
- You will go to the Phones tab and select the “Add” option to add the phone.
- Select “Common Area Phone” and fill out the phone Configuration as seen below:
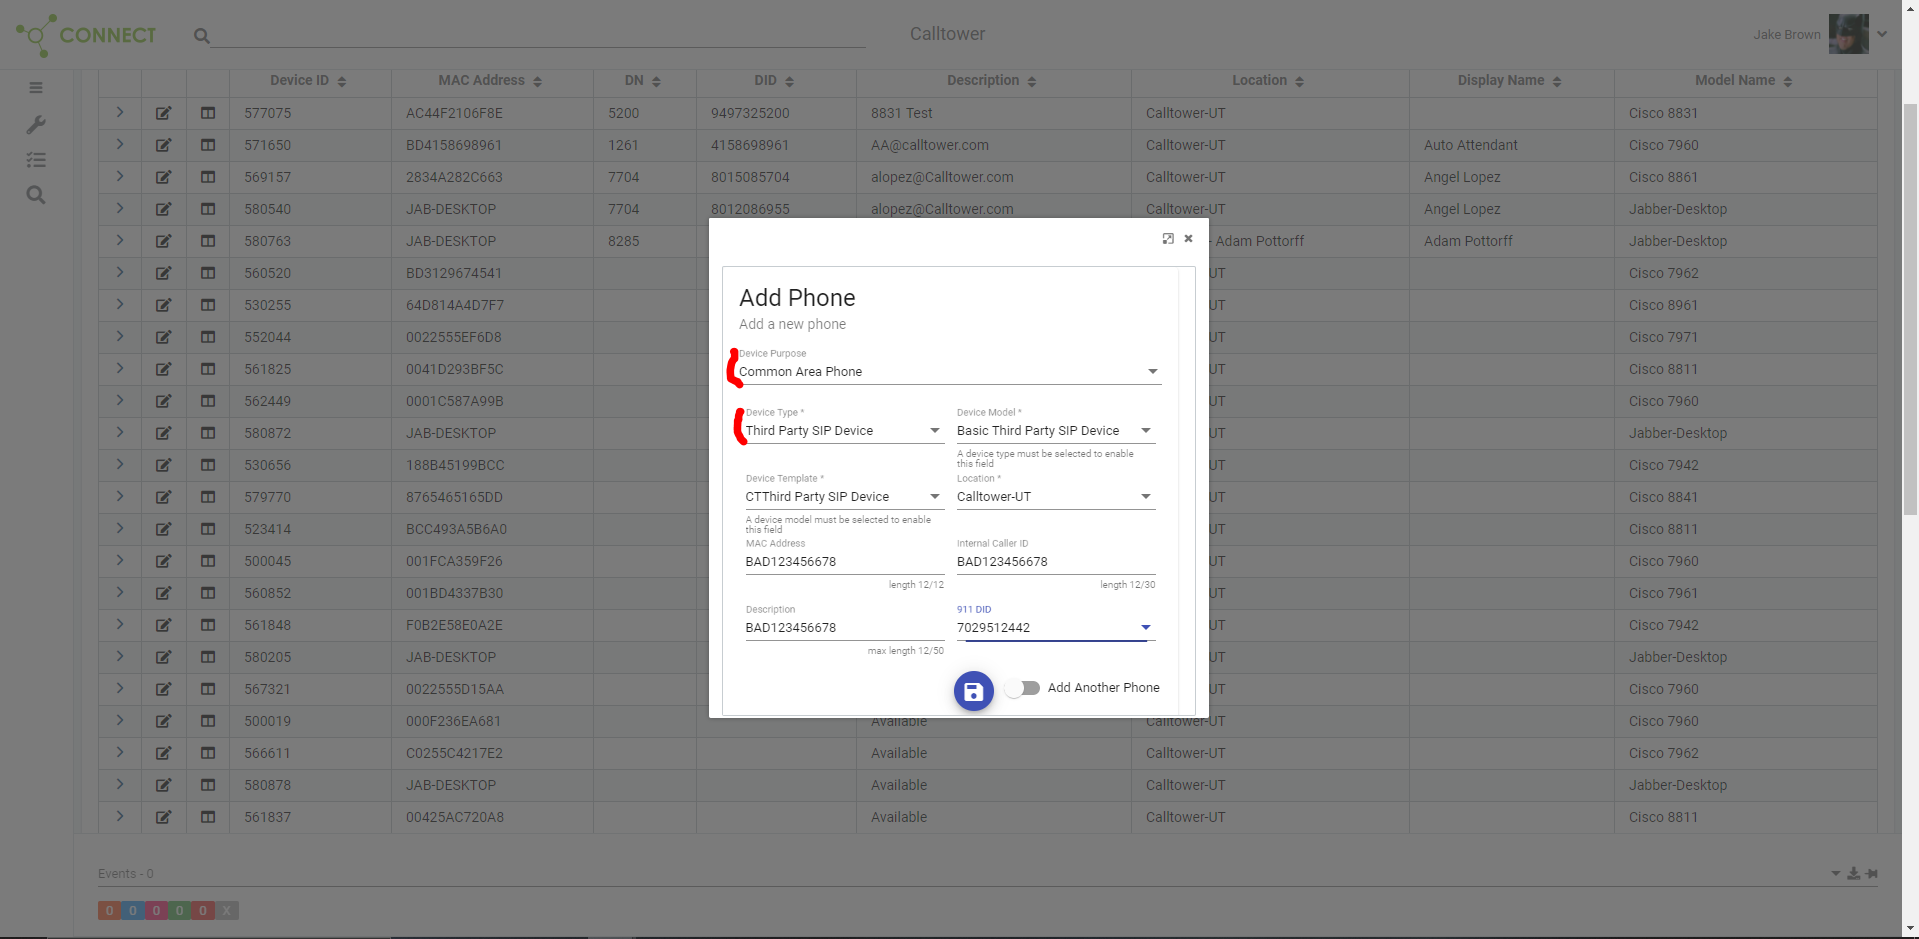
*Note: These phones will always be added as “Third Party SIP Device”. Then the rest of the options will only have 1 option in the Phone Configuration. You will need to be sure to build it in the correct location of the company.
Enabling option 150 on a Polycom SIP phone
- Power the phone on a Voice Port, or power cycle the phone.
- While the phone is booting up you will need to hit the “Set Up” soft key before the time runs out.
- Enter the Password when prompted. Password is 456.
- Scroll down by using the down arrow key until you see the option “DHCP Menu” and hit the “Select” soft key.
- Scroll until you have “Boot Server” highlighted and hit the “Edit” soft key. Then scroll until you see the “Custom” option and hit the “Ok” soft key.
- Scroll down until you have “BootSrv Opt” highlighted and hit the “Edit” soft key.
- Press the Keypad to change the “BootSrv Opt” to 150, then press the soft key “Ok”.
- Scroll down until “BootSrv Type” is highlighted and press the “Ok” soft key. Now scroll down until you find the option “IP Address” and hit the “Ok” soft key.
- Press the “Exit” soft key twice to exit out.
- Scroll until you have the “Save and Reboot” option highlighted and press the “Select” soft key. The phone will now reboot.
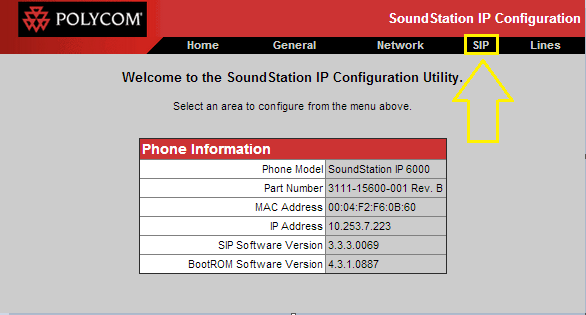
SIP Provisioning
- Once the phone is done rebooting to the main screen press the “Menu” button and go to option 2 “Status Menu” from there press 2 on the keypad to take you to the “Network Menu”, from there press 1 on the keypad to take you to the option “TCP/IP Parameters, within that menu you can take note of the IP Address. This can be seen sometimes on the main screen of the phone when it boots up.
- In a browser (Preferred Google Chrome) browse to the IP Address. Example: 10.253.7.223 and then hit the enter key to which the log in menu will appear.
- Log in using the following credentials:
- Username: Polycom (case sensitive)
- Password: 456
- Browse to the SIP Menu and browse to “Digitmap” and copy and paste the following into the window:
- 911|8,911|8,1911|411|8,1411|8,411|0T|8,011xxx.T|8,1[2-9]xxxxxxxxx|[0-9]xxxT|8,[2-9]xxxxxx
- If the client uses 9 to dial out copy and past the following into the window instead:
- 911|9,911|9,1911|411|9,1411|9,411|0T|9,011xxx.T|9,1[2-9]xxxxxxxxx|[0-9]xxxT|9,[2-9]xxxxx

- *Note that if there are spaces when you copy and paste it will not work.
- Browse to “Digitmap Timeout” and copy and paste the following in the window:
- 3 | 3 | 3 | 3 | 3 | 3| 3 | 3 | 3 | 3 | 3 | 3
- *Note that if there are spaces when you copy and paste it will not work.

- Fill in the following fields under the “Server 1” heading “Address” and put in the Cluster CUCM of the client that you are registering the phone to.
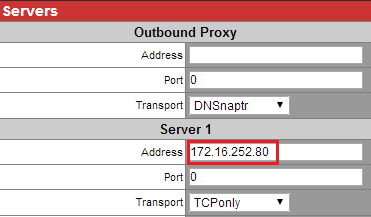
- Click Submit. Phone will reboot at this point.
Line Provisioning
- Browse to the “Lines” page of the phone menu

- Display name: [USER_ID] - On the Phone in CUCM this will be labeled as the "Digest User"
- Address: [EXTENSION] or for e.164 clients [+1XXXXXXXXXX]
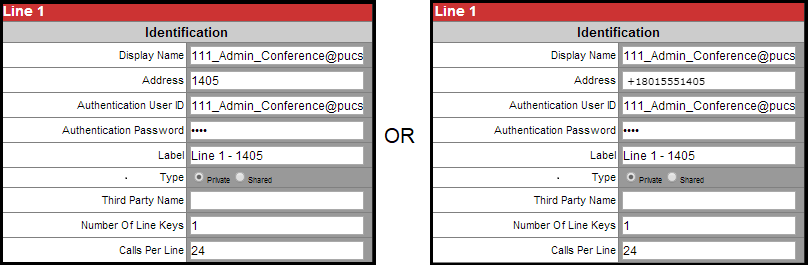
- Authenticatin User ID: [USER_ID]
- Authentication Password: [PIN] 12345
- Label: Line 1 – [EXTENSION]
- No answer timeout: cannot be set lower than the no answer ring duration setting fot the line in CUCM. Default is 55.

- Callback mode: Contact

- Callback Contact: 81+[10 Digit VM Primary Pilot] or 91+[10 Digit VM Primary Pilot]

- All other settings are default
- Then you hit “Submit”
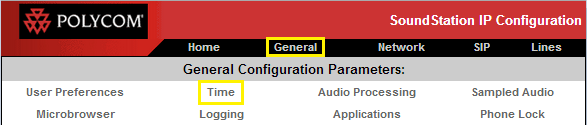
Polycom Sip Phone Configuration – Time Server Provisioning
- Browse to the general page of the phone menu
- Select “Time” under the general configuration parameters heading
- SNTP Sever: 172.16.252.5 and 172.16.252.6 if it does not work with the first.
- GMT Offset [GMT_OFFSET]
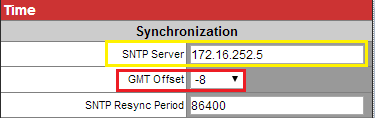
- Submit
- The phone should reset at this point.
Polycom Sip Phone Verify Registration
- Press the Menu key on the Polycom and from there go to option 2 for “Status”
- Then from the “Status” Menu go to option 3 for “Lines”
If the phone is registered you should see “Registered” on the display followed by an incrementing counter.