Zoom Admin - Calling Setup Guide
Summary
CallTower’s Zoom Calling allows you to add external calling to your Zoom account using CallTower’s cloud-based global voice network through a vetted and trusted integration between CallTower and Zoom.
Using the CallTower Zoom Calling app, customers can order new telephone numbers, upload them to their Zoom account and remove them where necessary. This document is designed to provide a step-by-step guide on how to set up and start CallTower’s Zoom Calling.
Prerequisites
- Below are the main prerequisites for integrating Zoom with CallTower
- Paid Zoom Account
- Permission to install apps to your Zoom account
- The users who will be assigned CallTower telephone numbers will need a Zoom phone license
- A CallTower account with access to CallTower Connect (self-provisioning portal)
Installing From Zoom Marketplace
- As a Zoom admin, log in to your Zoom account and navigate to the Zoom Marketplace
- Search for “CallTower” and click the app
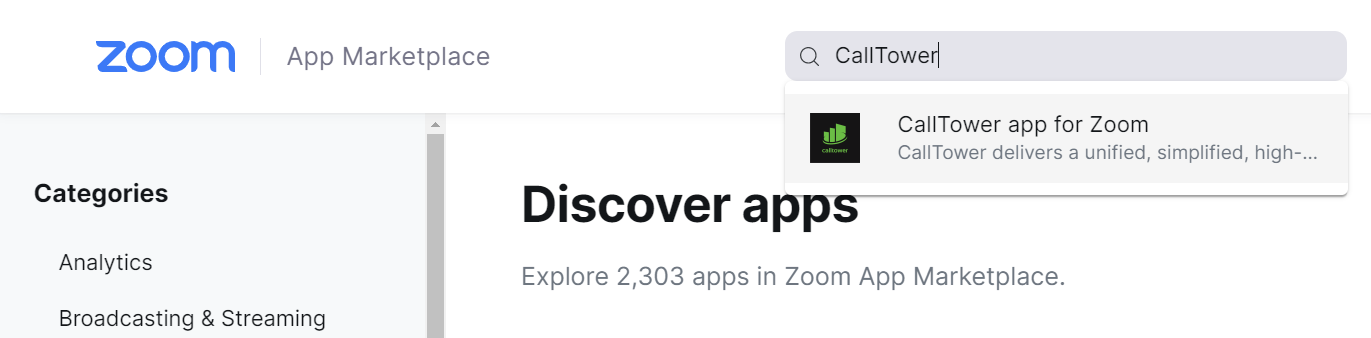
- If the app is not pre-approved, click “Approve use of this app”
- Click “Visit Site to Add.” You will be presented with the CallTower Zoom Calling Landing page. Here we give you steps on how to get started with CallTower, OR if you are already set up with us, there is a small link to login to Connect labeled "Current Customer visit Connect to get started."
a. New To CallTower: If you do not have a CallTower account, click on the "Get Started" button, scroll down, and fill in your details in the form. Once you click “Submit,” a CallTower Zoom Specialist will be in touch to help you with your initial order and to get your CallTower account setup
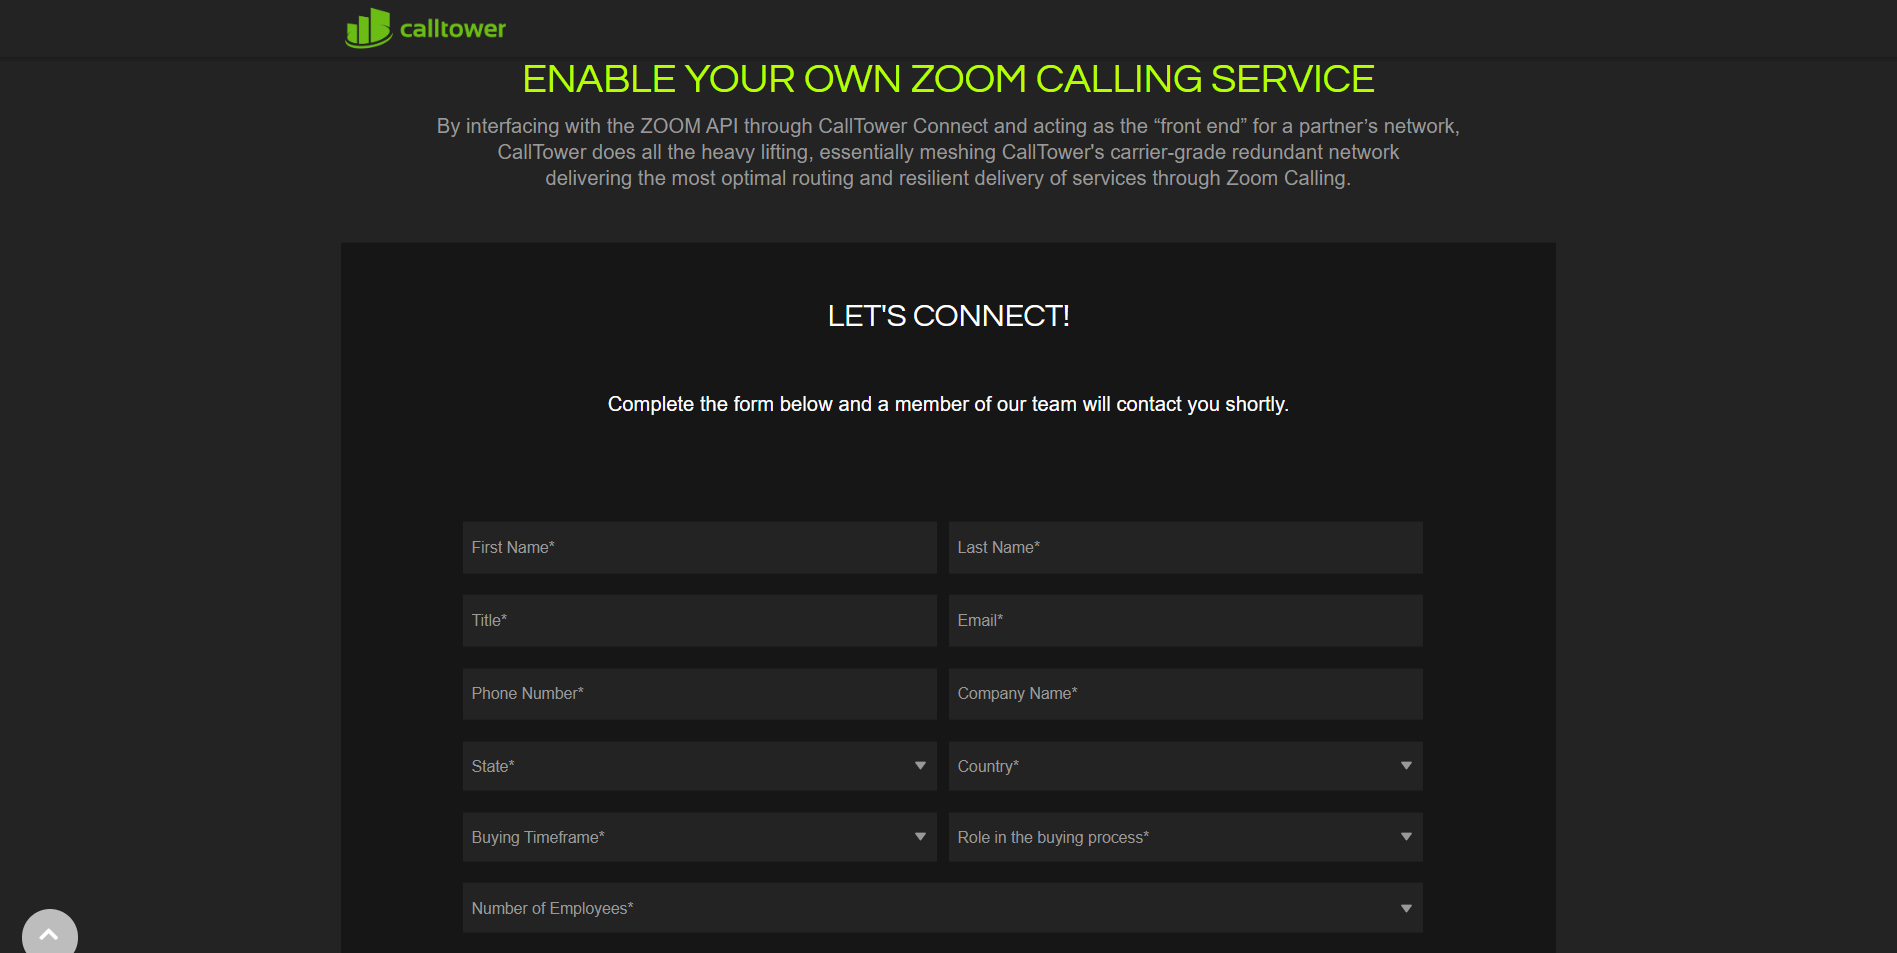
b. Existing Customer: If you already have a CallTower account, click on the “Current Customer visit Connect to get started” link to continue.

Login to connect using your credentials
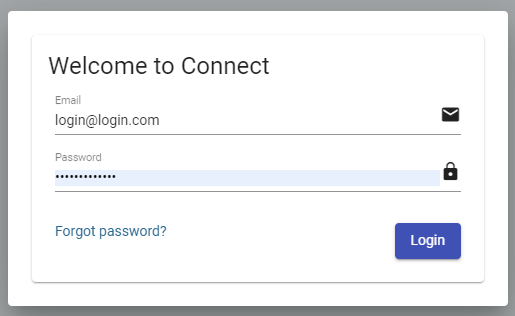
NOTE: if you do not have credentials, please contact your Implementation Manager
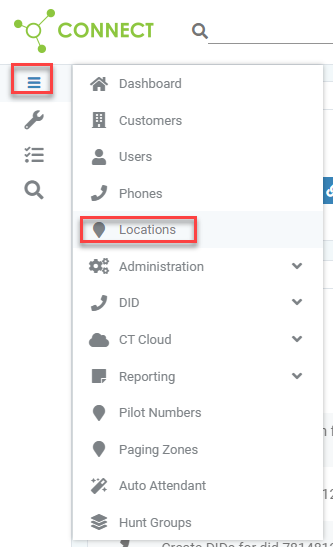
Once logged in, there is a hamburger menu you will click. Go to Administration -> Corporate Administration -> Zoom Settings -> Zoom API Authentication

Once in "Zoom API Authentication", you will be given the option to select a user to EMAIL an authorization link to, OR you may leave it blank and redirect directly from this page to authorize your Zoom account with Connect.

Once the link has been opened from the email OR you have redirected immediately from here, you will be redirected to Zoom to login (possible to auto-login, make sure you are on your desired Zoom account). After logging in, a prompt will ask to allow CallTower to have some permissions to do things like upload/release numbers from your Zoom account. After acceptance, authorization will begin and you will receive a message whether it succeeded or not. If you have any issues with getting it to succeed please contact your implementation manager.

Using Connect Admin Portal To Add/Remove Numbers
To Add:
- Log in to the Connect Admin portal using your user credentials.

- Navigate to the left panel, open a list of options using the top hamburger button, and select the “Locations” option. This will give you a list of your current locations.
- Select the location you would like to use to view a list of DIDs that are associated with this location.

- A red lock on the right side of the DID grid indicates the DID has been uploaded to Zoom.

5. Select “DIDs” and then the “Zoom Upload DIDs” option. That will bring you to a DID upload screen, showing all available DIDs that can be uploaded.

6. Select which DID you want with the checkboxes then select the "Upload DIDs” button in the bottom right corner of the menu.

NOTE: Pay attention to the lower left side, the event status indicator. After selecting the “Upload DIDs” button, you will see the process of uploading the DIDs, and the indicator will go from left to right. Make sure the process DOES NOT end up in red. Red indicates there is an issue. If you see red on the lower right side, you may need to contact support. You want to see Events end up in green.
If the upload was successful, you can go back to the main DID info page (DIDs dropdown -> DIDs) and see that the DID's now have red locks, indicating they were successfully uploaded. You should now see them on your Zoom account to manage.

To Remove:
- To remove a DID, it is pretty much the same process, but you will need to select Zoom Release DIDs from the DIDs dropdown menu, and the locks should no longer be red after successfully released.
Uninstalling/Removing Services from CallTower Connect:
**IMPORTANT**
If you currently have services with us and are trying to remove them completely, please contact support to complete any offboarding steps first before uninstalling the application from your Zoom account.
- Log into your Zoom account and open the app marketplace
- Click on “Manage” in the top right corner of the page
- On the left-hand menu, select “Installed Apps”
- Find “CallTower Zoom Calling” and click on the app
- Click on “Remove”
