CT Cloud Contact Center - Teams Presence Integration
Summary
The Presence (MS-Teams) integration allows you to set up the integration between your Microsoft 365 Account and the Cloud Contact Center so that Contact Center can interact with the MS-365 graph API.
To set up the presence integration between Teams and the Cloud Contact Center, you need to create an Azure app registration that will communicate with the Cloud Contact Center. You will also need to provide a user account and password that the Cloud Contact Center will use. Below are the steps you can follow to set up this app registration and create the user account.
Prerequisites
- You must have global admin permissions to your Office365 / Azure tenant
- The email address of your agents in the Cloud Contact Center must match the email address of their Teams account in Office365. All users must have Office365 email accounts for synchronization to work.
Creating the integration user account
- Log in to your Office365 admin portal (https://admin.microsoft.com).
- Under Users > Active Users, select the option to “Add a user”.
- Fill out the new user form with information that you will easily recognize in the future.
- When creating a password for the user, the password should only contain alpha/numeric character (no symbols or special characters) and please be sure to de-select the option “Require this user to change their password when they first sign in”.
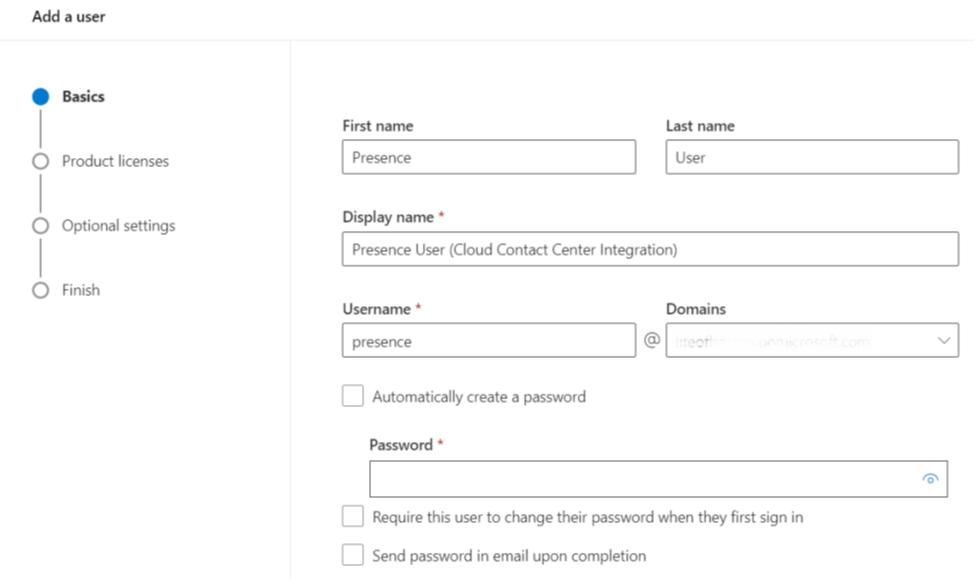
5. This user does not need any license or administrative role.
6. Notate the username and password to provide to your project manager or support representative later.
Creating Azure App Registration
1. Log in to the Azure Active Directory admin portal (https://aad.portal.azure.com).
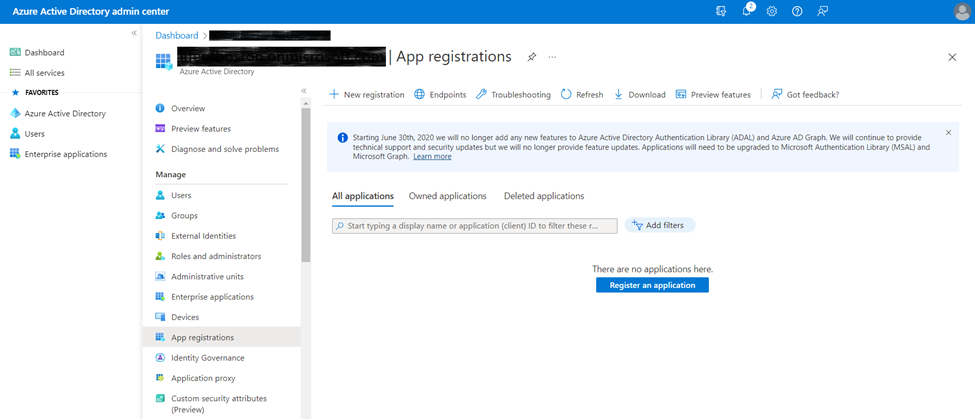
2. Once logged in, select the “Azure Active Directory” blade on the left side of the screen.
3. Select “App Registrations” from the Azure Active Directory blade.
4. At the top of the screen, select the option for “New Registration”.
5. On the “Register an application” page, provide a name for the application that you will easily recognize in the future.
6. Make sure the option for “Accounts in this organizational directory only” is selected.
7. Under “Redirect URI” select the option for “Public client/native”.
8. Enter https://login.microsoftonline.com/co...2/nativeclient in the box to the right.
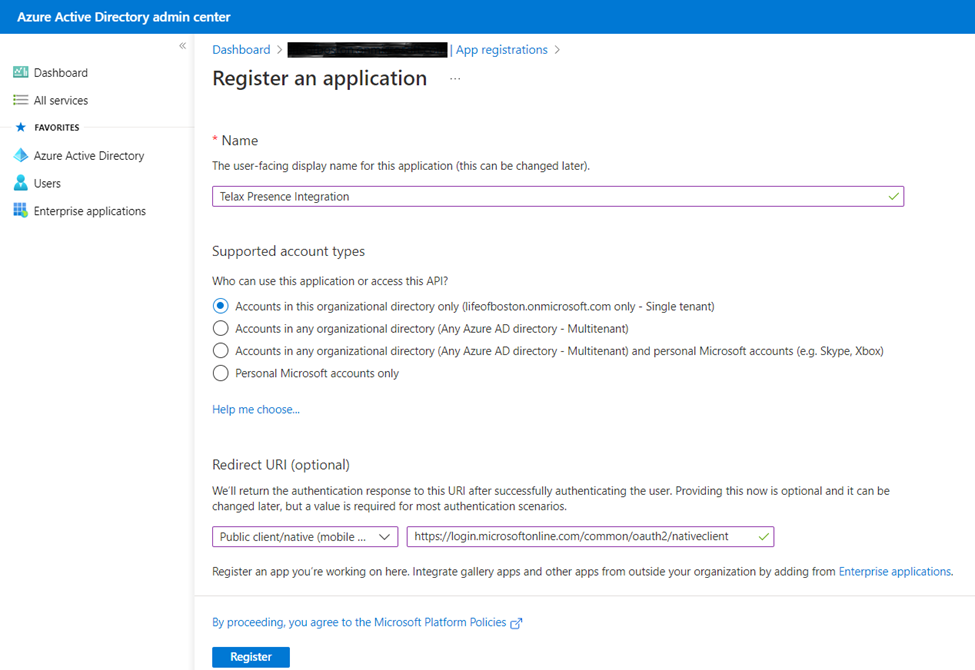
9. Click “Register” at the bottom of the screen.
10. After registering the application, you should be automatically directed to the screen in the image below. Please take note of the “Application (client) ID”, and the “Directory (Tenant) ID” to provide to your project manager or support representative later.
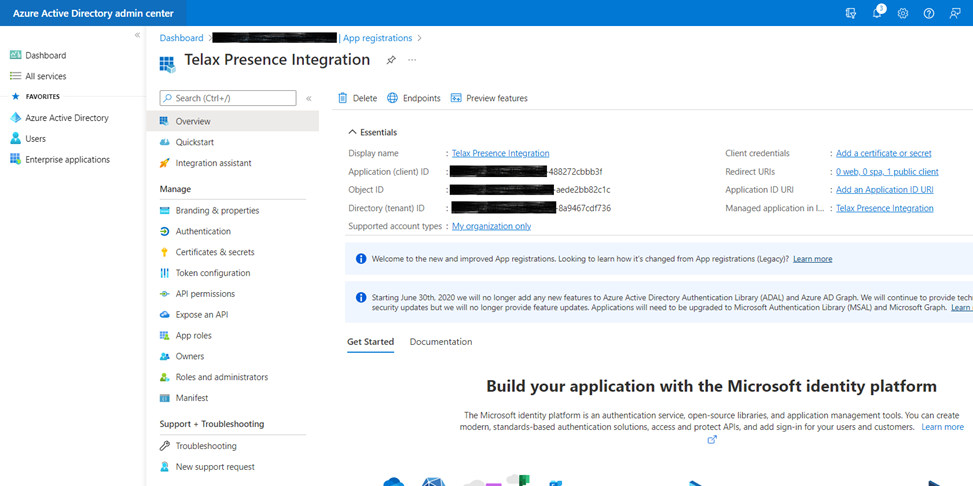
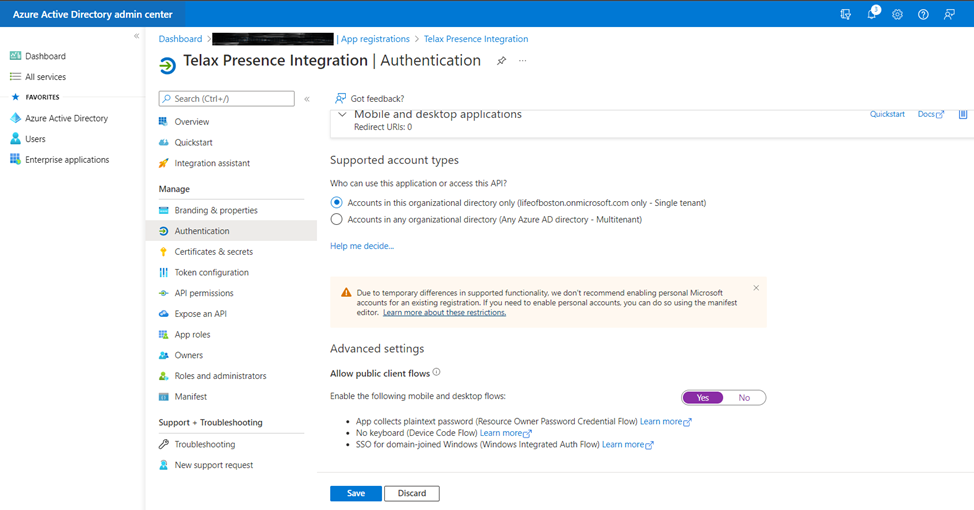
11. From the app registration blade, select the option for “Authentication”.
12. Scroll to the bottom and set “Enable the following mobile and desktop flows” to “Yes”
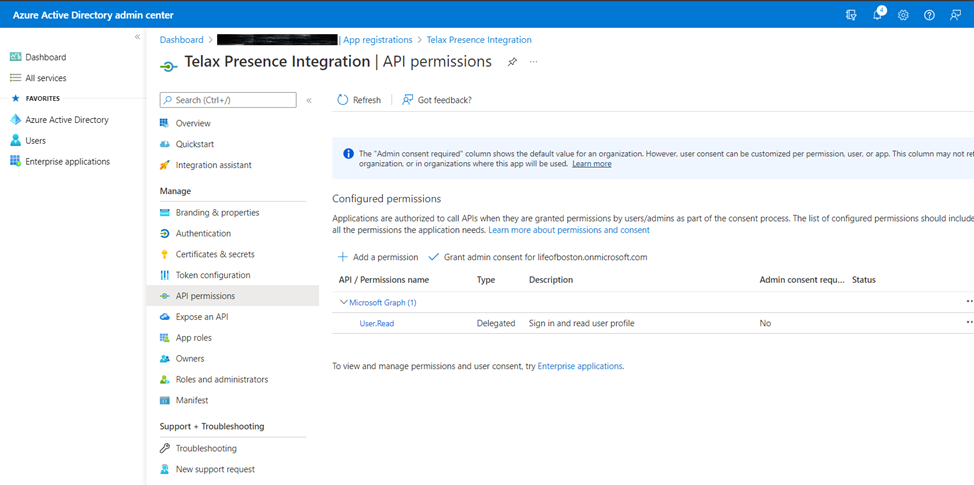
13. From the app registration blade, select the option for “API permissions”.
14. Select the option to “Add a permission”.
15. A new blade will appear on the right-hand side of the page. Select the option for “Microsoft Graph” at the top.
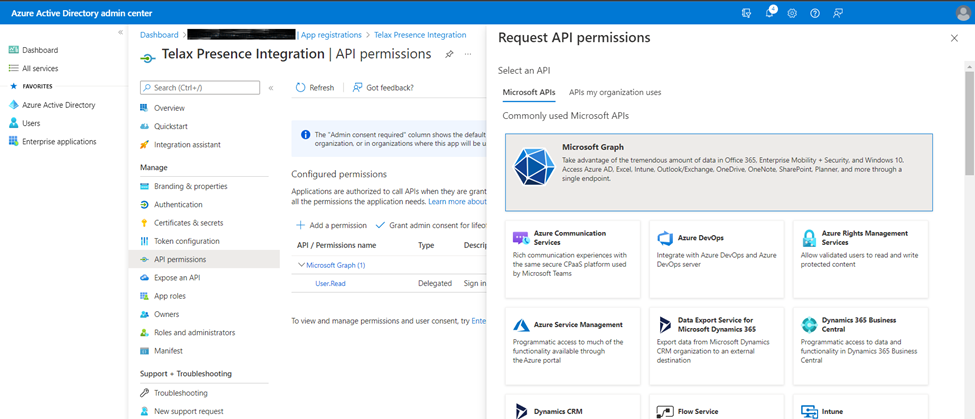
16. Select the option for “Delegated permissions”.
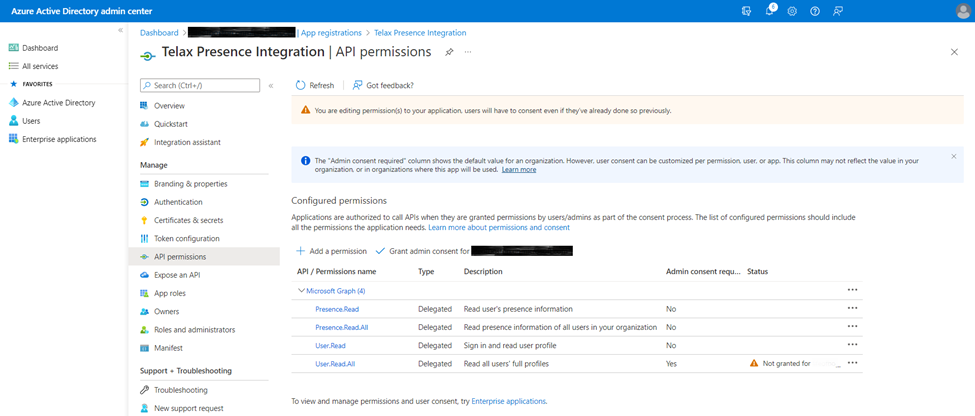
17. In the search bar, search for and select the following permissions:
a. Presence.Read
b. Presence.Read.All
c. User.Read.All
18. Select the option to “Add permission” at the bottom.

19. From the “API permissions” page, you should now see 4 permissions. At the top of the list of permissions, select the option to “Grant admin consent for (your domain)”.
20. Provide the gathered information below to your project manager or support representative:
a. Integration username:
b. Integration user password:
c. Application (client) ID:
d. Directory (Tenant) ID:
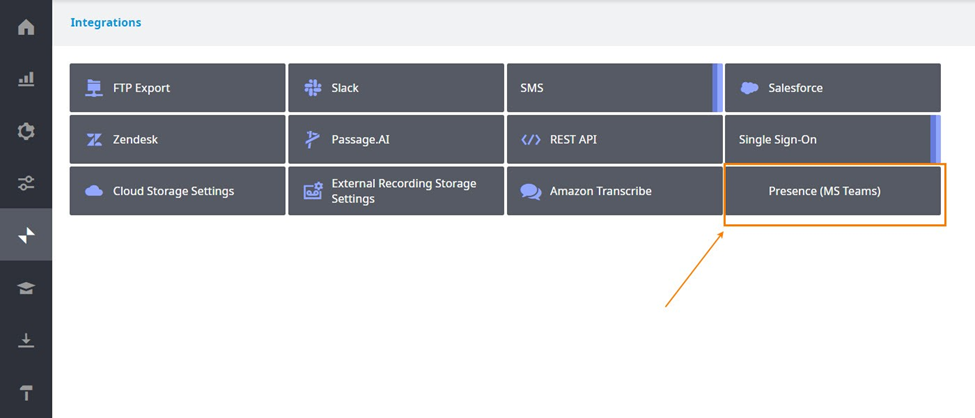
Enable the integration (Calltower Only)
- In the customer’s admin portal, navigate to Integrations > Presence (MS Teams).
- Enter the information provided by the customer.
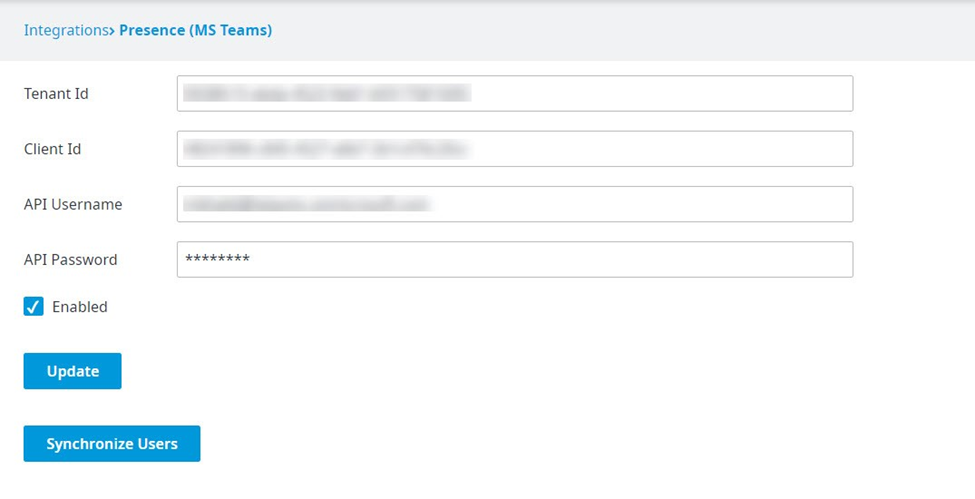
- Click “Update” when done.
- Click “Synchronirze Uses