Cisco Webex Receptionist - Getting Started
Summary
The Receptionist Client is a web-based tool that combines your desk phone with a desktop interface and enables you to process calls to users within your organization. You can screen incoming calls, manage calls and contacts, and monitor calls in a queue.
Sign In to the Dashboard
Access Receptionist from the Calling User Portal. Once signed in, the display panes in the dashboard allow you to:
-
View global messages, application settings, and information about your user account and call state.
-
View and change your current settings.
-
View and manage active calls from the calls console.
-
Create and manage contacts.
-
Monitor and manage queued calls from the queued calls pane.
| 1 |
Go to https://settings.webex.com and select Webex Calling. |
| 2 |
From the Calling User Portal, go to My Apps. |
| 3 |
Click Receptionist. |
| 4 |
Choose the Cisco sign-in option. |

Take a look at the video below on how to sign in to Receptionist and get a glimpse of the portal.
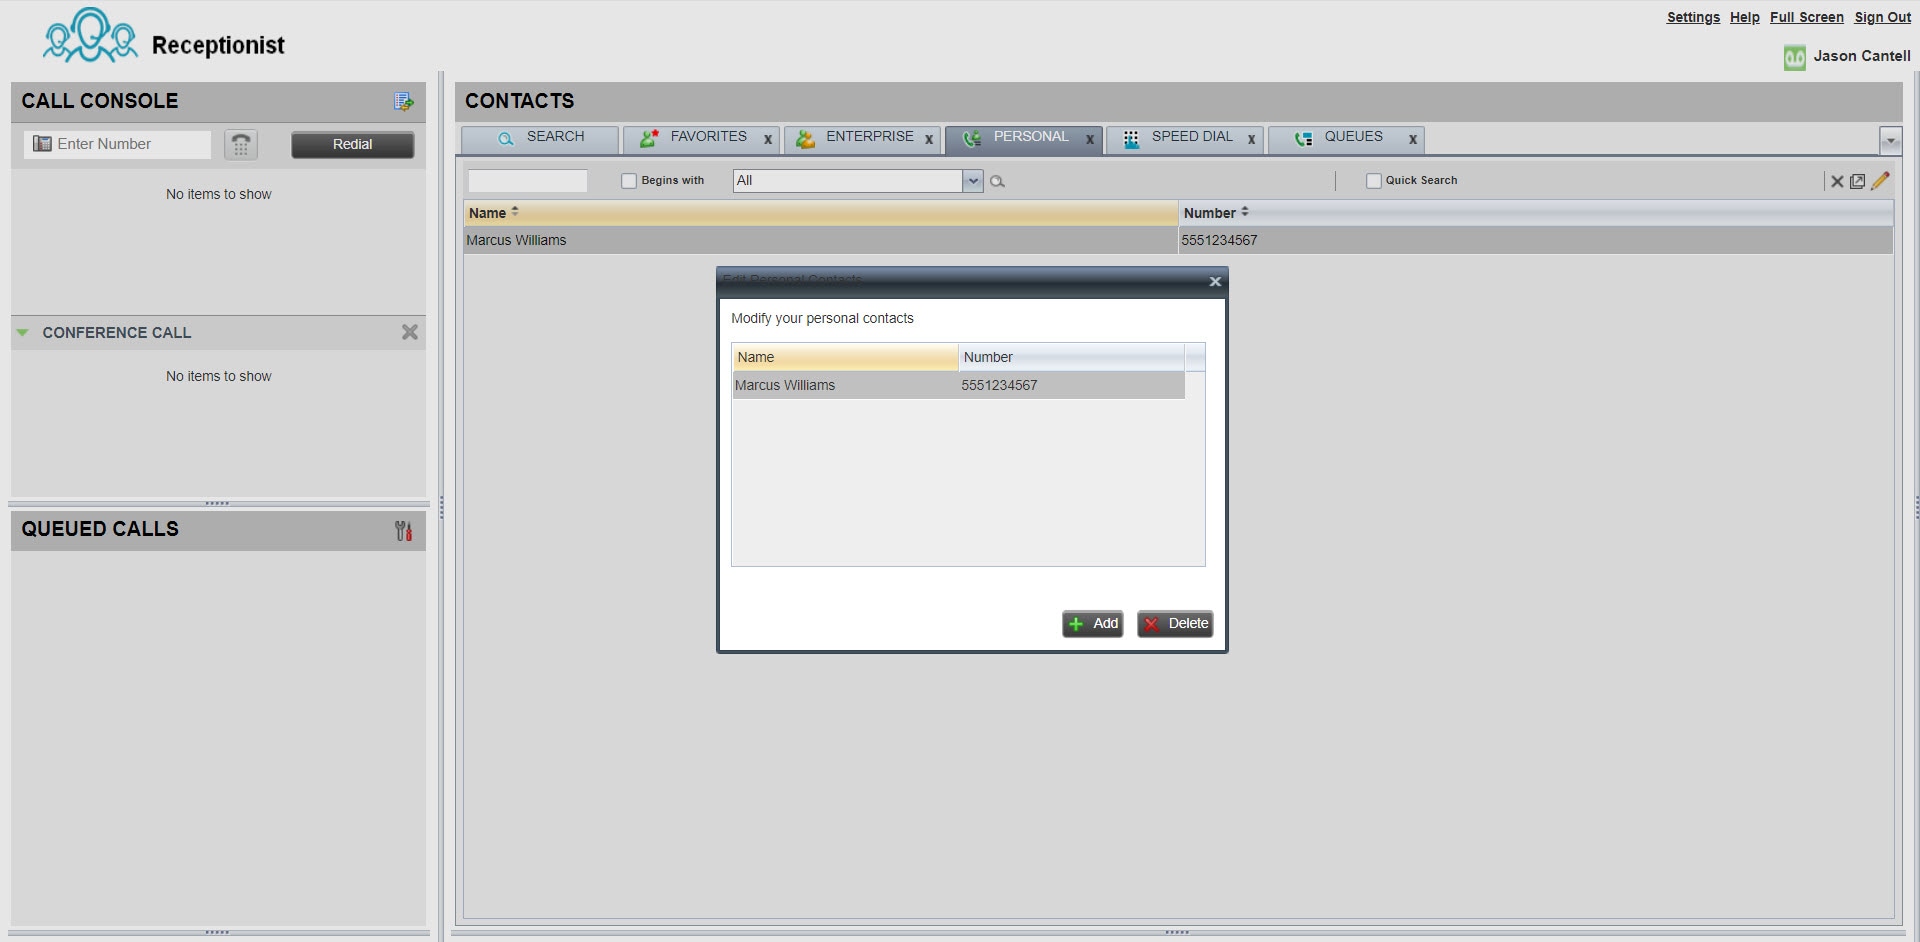
Manage Your Contacts
You can create and manage contacts within Receptionist to easily make calls to stored numbers. Once you create a contact, you can update, delete, monitor a contact statically (used if you monitor the same contacts daily), monitor a contact dynamically (used to view selected contacts on an as-needed basis), and add a note to the contact.
|
The maximum number of contacts you can monitor statically is 200. The maximum number of contacts that can be monitored dynamically is 100. |
| 1 |
From the contacts pane, select the Personal tab. |
| 2 |
Click the Edit icon to add, update, or delete a personal contact. |
| 3 |
To add a note to a contact, select the contact and click Notes. |